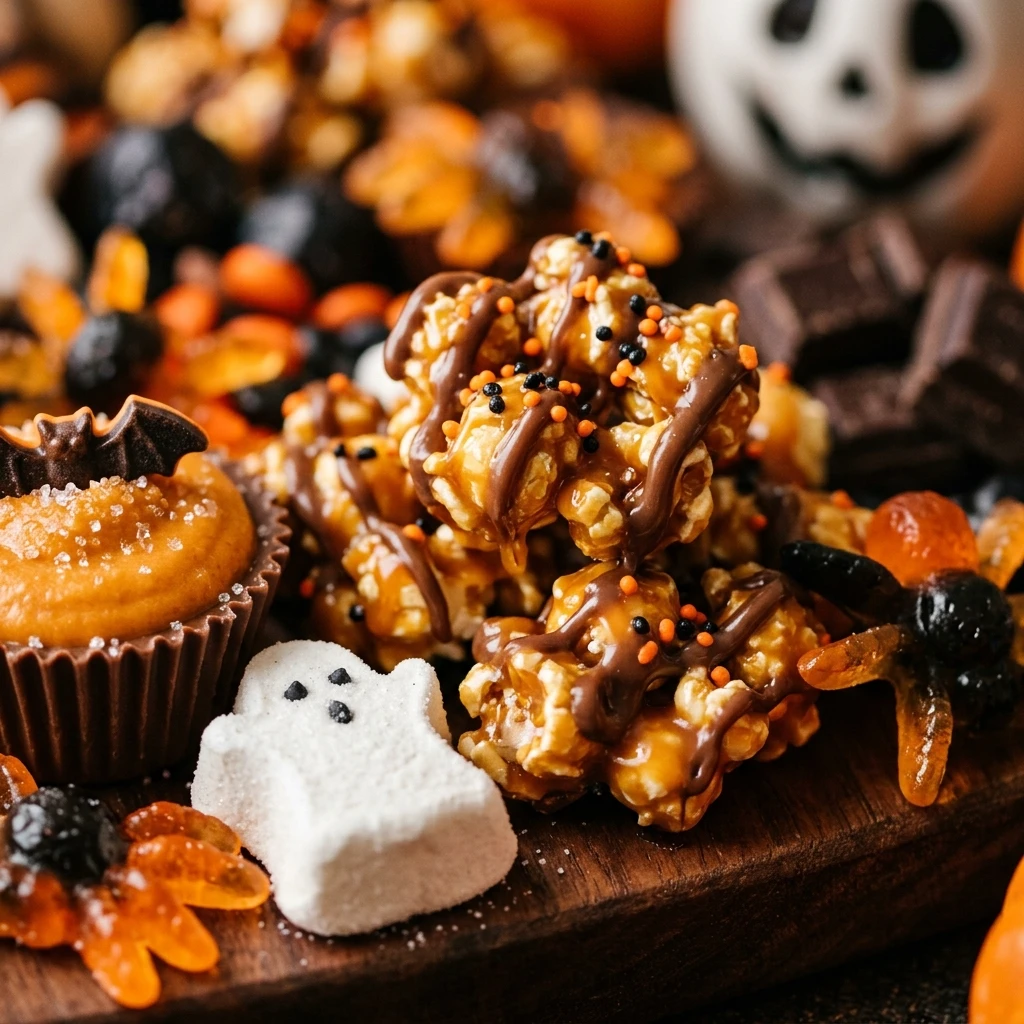
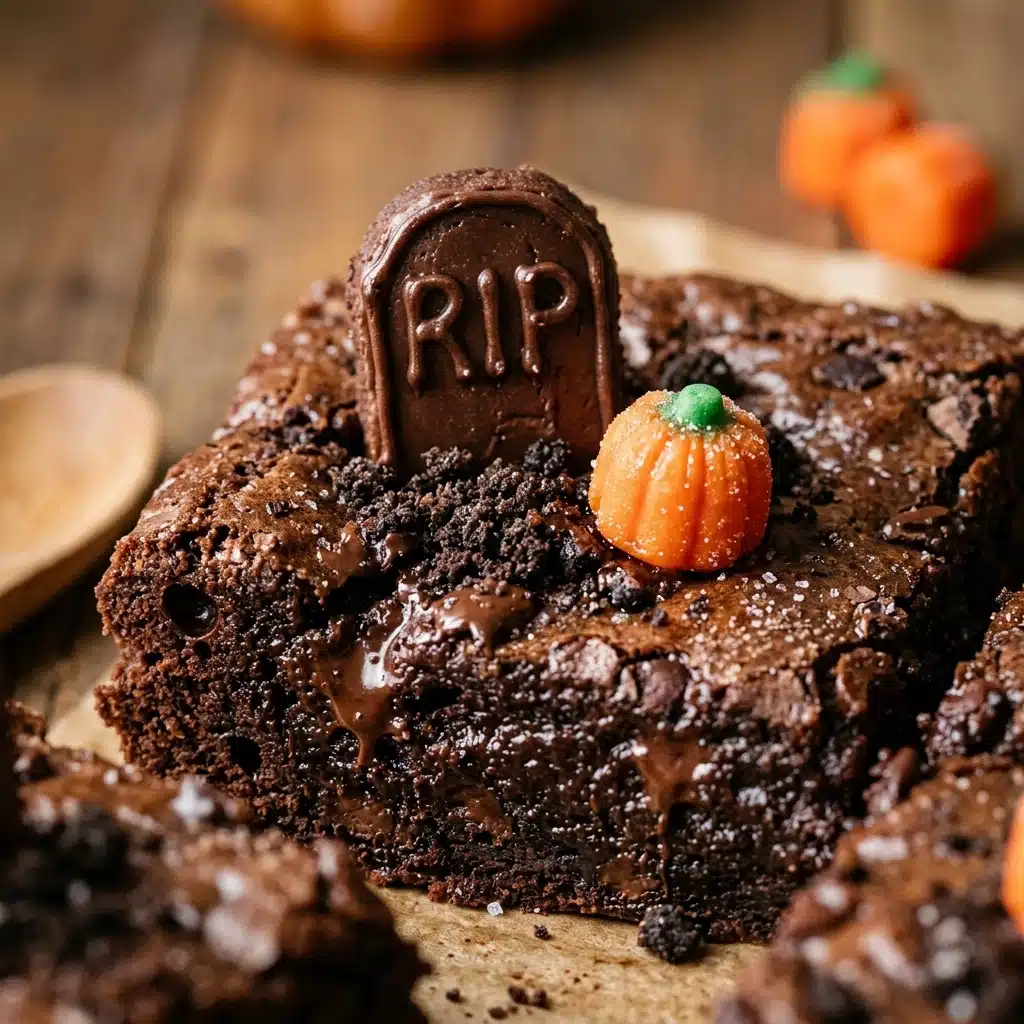
Get ready to bring some spooky fun to your kitchen with these Halloween Brownies Graveyard treats. These delightful desserts combine a rich, fudgy brownie base with creative decorations that look like a miniature cemetery. They are the perfect centerpiece for any October party or a fun weekend activity with the kids. Every bite offers a mix of deep chocolate flavor, creamy frosting, and the satisfying crunch of cookie “dirt.” These brownies look impressive but are surprisingly simple to put together, making them a favorite for busy hosts who want to impress their guests.
Why Make This Halloween Brownies Graveyard
This recipe is a must-try because it turns a classic dessert into an edible work of art. Unlike complicated cakes, these brownies are sturdy and easy to handle. The graveyard theme is timeless and universally loved during the spooky season. You get the best of both worlds: a decadent, high-quality chocolate dessert and a creative outlet for decorating. It is also a very flexible recipe; you can use your favorite brownie base and add as many or as few decorations as you like. It is a fantastic way to create lasting memories with family while making something truly delicious.
How to Make Halloween Brownies Graveyard
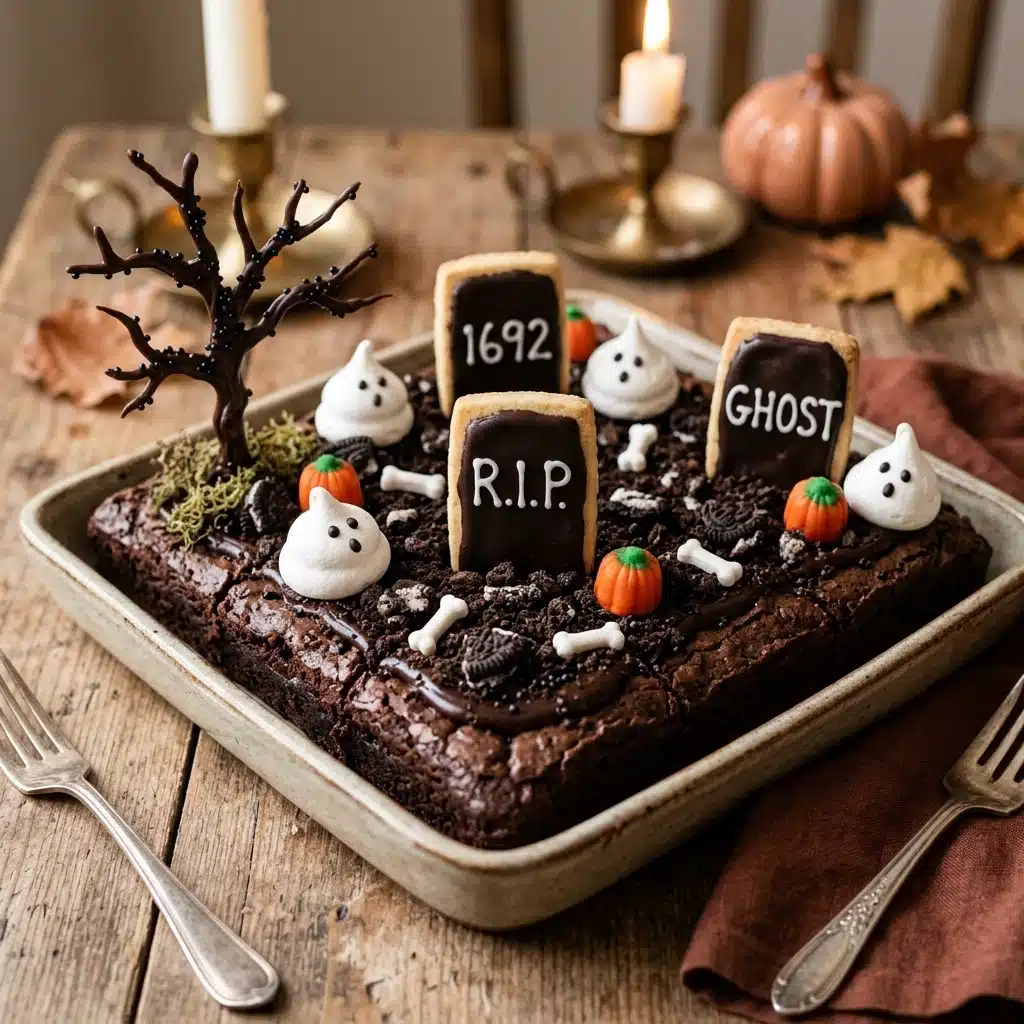
Making these brownies is a two-part process that is both rewarding and fun. First, you bake a thick, moist batch of brownies in a rectangular pan. Once they have cooled completely, you spread a layer of smooth chocolate frosting across the top to act as the “mud.” The real magic happens when you sprinkle crushed chocolate sandwich cookies over the frosting to create a realistic dirt effect. Finally, you use oval-shaped biscuits or cookies as headstones, writing “RIP” or drawing small crosses on them with melted chocolate before tucking them into the brownie “ground.”
Ingredients
- 1 cup unsalted butter, melted
- 2 cups granulated sugar
- 4 large eggs
- 1 teaspoon vanilla extract
- 3/4 cup unsweetened cocoa powder
- 1 cup all-purpose flour
- 1/2 teaspoon salt
- 1/2 teaspoon baking powder
- 1 cup chocolate frosting (homemade or store-bought)
- 12 chocolate sandwich cookies (crushed into fine crumbs)
- 10-12 rectangular or oval-shaped biscuits (like Milano style)
- 1/4 cup dark chocolate chips, melted (for writing)
- Candy pumpkins or bone-shaped sprinkles for garnish
Directions
- Preheat your oven to 350°F (175°C). Grease a 9×13 inch baking pan or line it with parchment paper for easy removal.
- In a large bowl, whisk together the melted butter and sugar until well combined.
- Add the eggs one at a time, beating well after each addition. Stir in the vanilla extract.
- Sift together the cocoa powder, flour, salt, and baking powder. Gradually add the dry ingredients to the wet ingredients, stirring until just combined. Do not overmix.
- Pour the batter into the prepared pan and spread it evenly with a spatula.
- Bake for 25 to 30 minutes, or until a toothpick inserted into the center comes out with a few moist crumbs.
- Allow the brownies to cool completely in the pan. This is vital for a clean decoration process.
- Once cooled, spread the chocolate frosting evenly over the top of the brownies.
- Sprinkle the crushed chocolate sandwich cookies over the frosting to create the “dirt” layer.
- Take your biscuits and use the melted chocolate to write “RIP” or draw spooky designs on the upper half of each one. Let the chocolate set for a few minutes.
- Cut the brownies into rectangles. Place one biscuit “headstone” at the top of each brownie square, pressing it down into the brownie slightly so it stands up.
- Add candy pumpkins or bone sprinkles around the headstones to complete the graveyard look.
Nutritional Information
The following values are estimates per serving (based on 12 large brownies):
- Calories: 420 kcal
- Total Fat: 22g
- Saturated Fat: 13g
- Cholesterol: 95mg
- Sodium: 180mg
- Total Carbohydrates: 54g
- Dietary Fiber: 3g
- Sugars: 38g
- Protein: 5g
- Iron: 15% DV
How to Serve Halloween Brownies Graveyard
Serve these brownies on a large flat platter to showcase the entire “cemetery” at once. They look best when arranged in rows like a real graveyard. If you are serving them at a party, place a small plastic skeleton hand or some faux spider webs around the platter for extra atmosphere. They pair perfectly with a tall glass of cold milk or a scoop of vanilla bean ice cream on the side. For an evening event, you can serve them alongside hot cocoa or apple cider for a cozy, festive feel.
How to Store Halloween Brownies Graveyard
To keep your brownies fresh, store them in an airtight container at room temperature for up to 3 days. If your kitchen is very warm, you can keep them in the refrigerator for up to 5 days, though the biscuits might soften slightly over time. If you need to stack them, place a layer of parchment paper between the brownies, but it is best to store them in a single layer to avoid crushing the headstones. You can also freeze the undecorated brownie base for up to 2 months; just thaw and decorate fresh when you are ready to serve.
Expert Tips for Perfect Halloween Brownies Graveyard
The secret to the best brownies is not overbaking them; they should be slightly fudgy in the middle. To get the “dirt” look just right, pulse the chocolate cookies in a blender until they look like coarse sand rather than a fine powder. If your headstone biscuits are falling over, you can cut a tiny slit in the brownie with a knife first to help them stand upright. Always wait until the brownies are completely cold before frosting, or the frosting will melt and create a mess. For the writing on the headstones, a small piping bag or even a toothpick dipped in chocolate works better than a spoon.
Delicious Variations
You can easily customize this recipe to suit your taste. Try adding a layer of green-tinted coconut flakes around the edges to look like mossy grass. If you love peanut butter, use a peanut butter frosting layer under the cookie crumbs for a “mud” that tastes like a candy bar. For a minty twist, add a teaspoon of peppermint extract to the brownie batter. You can also use white chocolate to write on the headstones for a high-contrast look, or use gummy worms instead of candy pumpkins to make the graveyard look even more “infested.”
Frequently Asked Questions
Can I use a boxed brownie mix?
Yes, you can certainly use a store-bought mix to save time. Just follow the package directions and proceed with the decoration steps.
What can I use if I can’t find Milano biscuits?
Any oval or rectangular biscuit will work. You can even use graham crackers or plain shortbread cookies cut into rectangles.
How do I make the cookie crumbs look like real dirt?
Mixing a few different sizes of crumbs—some fine and some slightly chunky—creates a very realistic texture.
Can I make these gluten-free?
Yes, simply substitute the all-purpose flour with a 1:1 gluten-free flour blend and ensure your cookies and biscuits are gluten-free certified.
My headstones keep falling over. What should I do?
Make sure the brownies are thick enough. If they are thin, you can use a bit of extra frosting on the back of the biscuit to “glue” it to the brownie base.
Can I use different colors for the writing?
Absolutely. You can use colored icing tubes or melt white chocolate and add food coloring to make orange or green writing.
How far in advance can I decorate these?
It is best to add the headstones a few hours before serving so they stay crisp. The brownie base can be made a day ahead.
Is there a way to make these less sweet?
You can use a dark chocolate cocoa powder and reduce the sugar in the brownie batter by about 1/4 cup.
Can I add nuts to the brownies?
Yes, chopped walnuts or pecans add a great crunch, but make sure no one has allergies before serving them at a party.
What is the best way to cut clean squares?
Use a sharp knife and wipe it clean with a damp cloth between every single cut to prevent the frosting and crumbs from smearing.
Conclusion
The Halloween Brownies Graveyard is more than just a dessert; it is a festive experience that brings the spirit of the season to your table. With their rich chocolate taste and playful appearance, they are guaranteed to be the star of your Halloween celebrations. Whether you follow the recipe exactly or add your own creative variations, these brownies are a joy to make and even better to eat. I encourage you to gather your favorite toppings, put on some spooky music, and start baking! Don’t forget to share your spooky creations with friends and family—they will surely be dying for a bite!
Halloween Brownies Graveyard
- Total Time: 45 minutes
- Diet: Vegetarian
Ingredients
- 1 cup unsalted butter, melted
- 2 cups granulated sugar
- 4 large eggs
- 1 teaspoon vanilla extract
- 3/4 cup unsweetened cocoa powder
- 1 cup all-purpose flour
- 1/2 teaspoon salt
- 1/2 teaspoon baking powder
- 1 cup chocolate frosting (homemade or store-bought)
- 12 chocolate sandwich cookies (crushed into fine crumbs)
- 10–12 rectangular or oval-shaped biscuits (like Milano style)
- 1/4 cup dark chocolate chips, melted (for writing)
- Candy pumpkins or bone-shaped sprinkles for garnish
Instructions
- Preheat your oven to 350°F (175°C). Grease a 9×13 inch baking pan or line it with parchment paper for easy removal.
- In a large bowl, whisk together the melted butter and sugar until well combined.
- Add the eggs one at a time, beating well after each addition. Stir in the vanilla extract.
- Sift together the cocoa powder, flour, salt, and baking powder. Gradually add the dry ingredients to the wet ingredients, stirring until just combined. Do not overmix.
- Pour the batter into the prepared pan and spread it evenly with a spatula.
- Bake for 25 to 30 minutes, or until a toothpick inserted into the center comes out with a few moist crumbs.
- Allow the brownies to cool completely in the pan. This is vital for a clean decoration process.
- Once cooled, spread the chocolate frosting evenly over the top of the brownies.
- Sprinkle the crushed chocolate sandwich cookies over the frosting to create the “dirt” layer.
- Take your biscuits and use the melted chocolate to write “RIP” or draw spooky designs on the upper half of each one. Let the chocolate set for a few minutes.
- Cut the brownies into rectangles. Place one biscuit “headstone” at the top of each brownie square, pressing it down into the brownie slightly so it stands up.
- Add candy pumpkins or bone sprinkles around the headstones to complete the graveyard look.
- Cook Time: 45 minutes