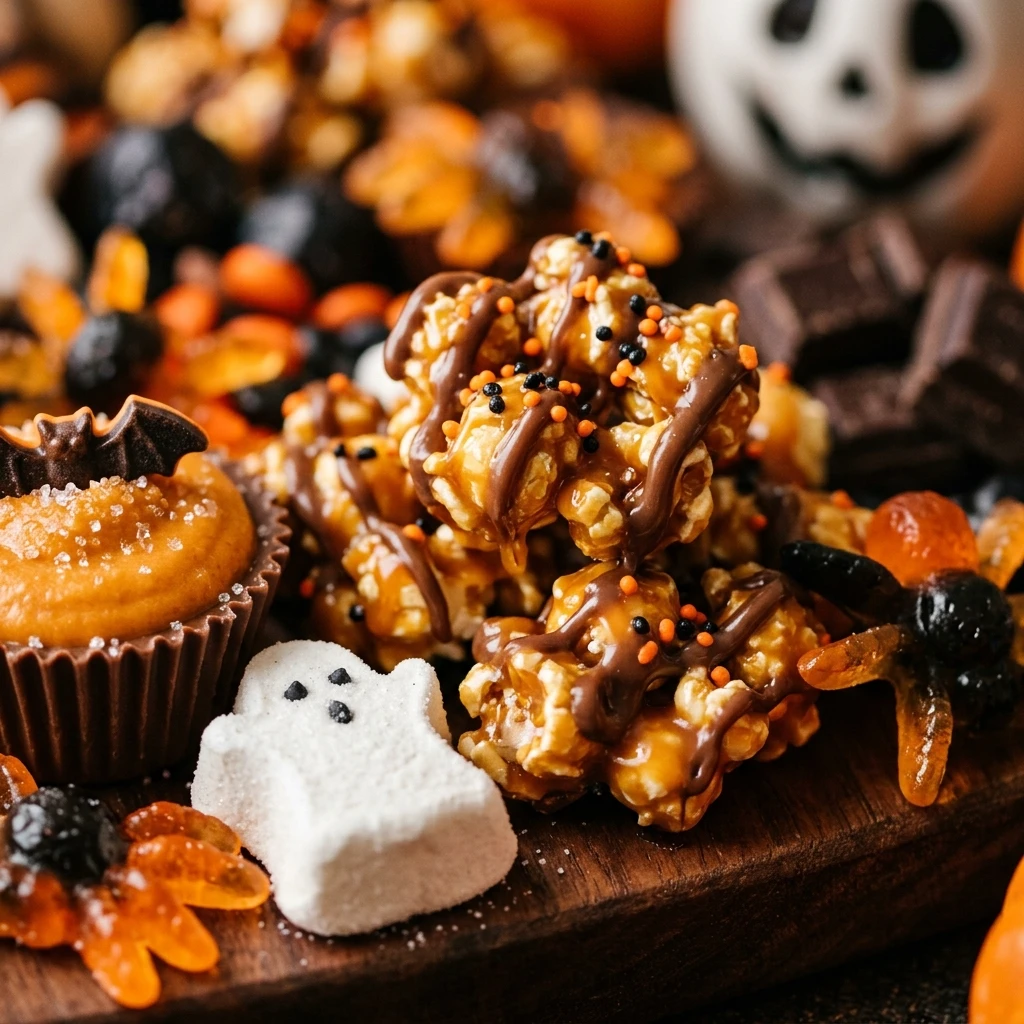
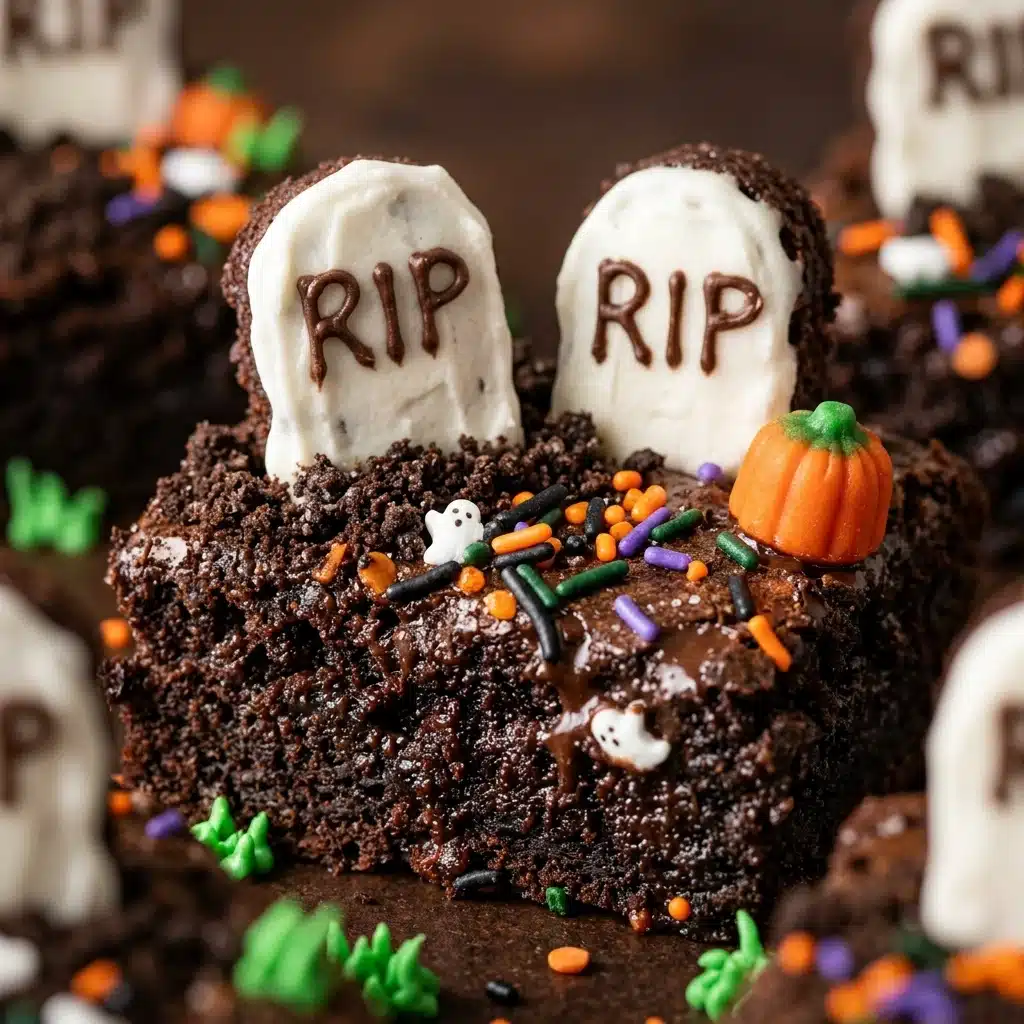
Halloween Brownies Graveyard are the ultimate spooky treat for your next October party. Imagine a rich, fudgy chocolate base topped with “dirt” made from crushed cookies and edible tombstones. These brownies smell like deep cocoa and warm sugar as they bake in your oven. The texture is perfectly chewy on the inside with a slightly crisp top. When you decorate them, they look just like a tiny, haunted cemetery. Kids and adults will love how they look and how they taste. It is a fun, creative way to celebrate the holiday with a dessert that everyone will remember.
Why Make This Halloween Brownies Graveyard
You should make these brownies because they are very easy to assemble. Even if you are not a master baker, you can create a professional-looking dessert. The graveyard theme is a classic Halloween look that never goes out of style. It is a great project for families to do together. Kids can help crush the cookies for the dirt or write on the tombstone cookies. These brownies are also very portable, making them perfect for school potlucks or office parties. Most importantly, they taste incredible. The combination of dense brownie and crunchy cookie toppings provides a satisfying mix of textures in every bite.
How to Make Halloween Brownies Graveyard
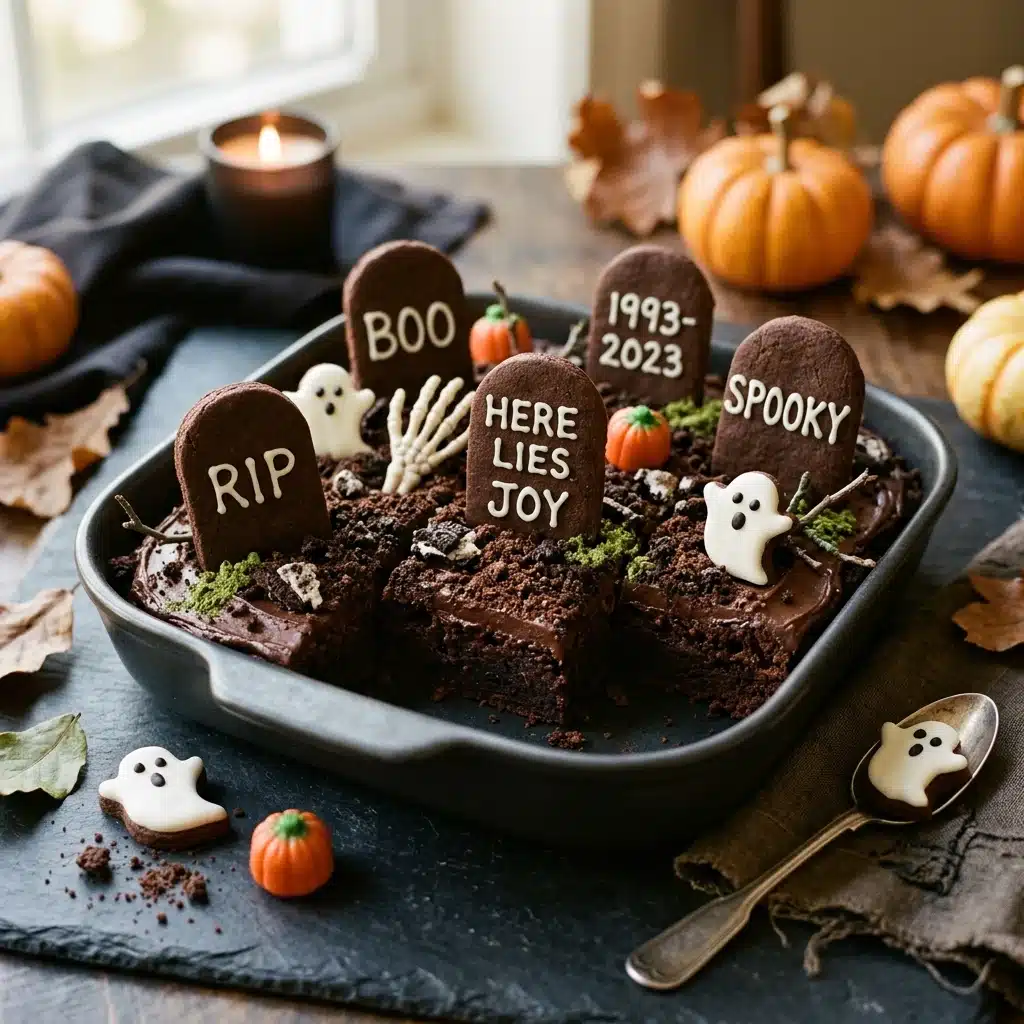
To make these brownies, you start by baking a standard batch of thick chocolate brownies. Once the brownies are completely cool, you prepare the “dirt” by crushing chocolate sandwich cookies into fine crumbs. You use rectangular butter cookies or oval biscuits as your tombstones. Write spooky messages like “RIP” or draw small crosses on the cookies using black icing. You then spread a thin layer of chocolate frosting over the brownies to act as glue. Sprinkle the cookie dirt over the frosting and press the tombstone cookies into the brownies. Add some pumpkin candies or green frosting “grass” to finish the scene.
Ingredients
- 1 cup unsalted butter, melted
- 2 cups granulated sugar
- 4 large eggs
- 1 teaspoon non-alcoholic vanilla extract
- 3/4 cup unsweetened cocoa powder
- 1 cup all-purpose flour
- 1/2 teaspoon salt
- 1/2 teaspoon baking powder
- 1 cup semi-sweet chocolate chips
- 12 chocolate sandwich cookies (crushed for dirt)
- 10-12 rectangular shortbread cookies (for tombstones)
- 1 tube of black decorating icing
- 1/2 cup chocolate frosting
- Optional: Candy pumpkins or gummy worms
Directions
- Preheat your oven to 350°F (175°C). Grease a 9×13 inch baking pan with butter or line it with parchment paper.
- In a large bowl, mix the melted butter and sugar together until smooth.
- Add the eggs one at a time, beating well after each addition. Stir in the non-alcoholic vanilla extract.
- Sift the cocoa powder, flour, salt, and baking powder into the wet ingredients. Stir gently until just combined. Do not overmix.
- Fold in the chocolate chips.
- Pour the batter into the prepared pan and spread it evenly.
- Bake for 25 to 30 minutes. A toothpick inserted into the center should come out with a few moist crumbs.
- Let the brownies cool completely in the pan. This is very important so the decorations don’t melt.
- While the brownies cool, write “RIP” on the shortbread cookies using the black icing. Let them dry for a few minutes.
- Place the chocolate sandwich cookies in a plastic bag and crush them with a rolling pin until they look like soil.
- Spread a thin layer of chocolate frosting over the cooled brownies.
- Sprinkle the crushed cookie “dirt” over the top of the frosting.
- Cut the brownies into rectangles. Cut a small slit in each brownie and insert a tombstone cookie so it stands upright.
- Add candy pumpkins or gummy worms around the tombstones for extra detail.
Nutritional Information
This information is an estimate per serving (one brownie). This recipe makes approximately 12 large brownies.
- Calories: 385 kcal
- Total Fat: 18g
- Saturated Fat: 11g
- Cholesterol: 75mg
- Sodium: 190mg
- Total Carbohydrates: 54g
- Dietary Fiber: 3g
- Sugars: 38g
- Protein: 5g
- Iron: 15% DV
How to Serve Halloween Brownies Graveyard
Serve these brownies on a large black or orange platter to enhance the Halloween theme. You can arrange them close together so it looks like one big cemetery. If you want to be extra fancy, place a few dry ice chunks in a bowl of water nearby to create a “fog” effect around the platter. These brownies pair perfectly with a glass of cold milk or a hot cup of cocoa. For a party, you can place each brownie in a festive cupcake liner to make them easy for guests to grab. They are best served at room temperature so the brownie remains soft and fudgy.
How to Store Halloween Brownies Graveyard
Store your Halloween Brownies Graveyard in an airtight container at room temperature for up to 3 days. If your kitchen is very warm, you can keep them in the refrigerator for up to 5 days. If you refrigerate them, let them sit at room temperature for 20 minutes before serving so they soften up. You can also freeze the brownies before adding the decorations. Wrap the unadorned brownie block tightly in plastic wrap and foil for up to 3 months. When you are ready to use them, thaw at room temperature and then add the frosting, dirt, and tombstones.
Expert Tips for Perfect Halloween Brownies Graveyard
- Don’t Overbake: Brownies continue to cook a little bit after you take them out of the oven. Take them out when the edges are firm but the middle is still slightly soft.
- Cool Completely: Never try to frost or decorate warm brownies. The frosting will melt, and your tombstones will fall over.
- Use a Sharp Knife: To get clean edges, use a large sharp knife and wipe it clean between every cut.
- Vary the Tombstones: Use different shaped cookies like Milano cookies or oval biscuits to make the graveyard look more realistic.
- Add Texture: Use a mix of fine and coarse cookie crumbs to make the “dirt” look more natural.
Delicious Variations
- Peanut Butter Graveyard: Swirl 1/2 cup of creamy peanut butter into the batter before baking for a salty-sweet twist.
- Minty Graveyard: Add a teaspoon of peppermint extract and use mint chocolate sandwich cookies for the dirt.
- Bone Yard: Add white chocolate “bones” or skull-shaped candies among the tombstones.
- Pumpkin Spice: Add a teaspoon of pumpkin pie spice to the brownie batter for a fall flavor profile.
- Extra Fudgy: Replace half of the cocoa powder with melted high-quality dark chocolate for a richer taste.
Frequently Asked Questions
1. Can I use a boxed brownie mix?
Yes, you can absolutely use a boxed mix to save time. Just follow the package directions and then use the decorating steps mentioned here.
2. What if I cannot find rectangular cookies for the tombstones?
You can use any flat, sturdy cookie. Even graham cracker rectangles or chocolate bars work well as tombstones.
3. How do I make the tombstones stay upright?
Cut a small slit in the brownie with a knife first. This makes it easier to slide the cookie in without breaking it. Use a little extra frosting at the base if needed.
4. Can I make these a day in advance?
Yes, you can bake and decorate them a day early. The cookies might soften slightly from the moisture in the brownie, but they will still look and taste great.
5. Is there a substitute for chocolate frosting?
You can use chocolate ganache or even a thick hazelnut spread to hold the cookie dirt in place.
6. How do I make the “grass” in the graveyard?
Mix a little green food coloring into vanilla frosting. Use a piping bag with a small grass tip to add tufts of green around the tombstones.
7. My brownies are too crumbly to hold the cookies. What happened?
The brownies might be overbaked. If they are crumbly, try chilling them in the fridge for an hour to firm them up before inserting the cookies.
8. Can I make this recipe gluten-free?
Yes, simply use a gluten-free all-purpose flour blend for the brownies and ensure your cookies for the dirt and tombstones are gluten-free brands.
9. What is the best cocoa powder to use?
Unsweetened Dutch-processed cocoa powder gives a darker color and a smoother flavor, which is perfect for a “spooky” dark brownie.
10. Can I add nuts to the brownies?
Yes, chopped walnuts or pecans add a nice crunch. Just fold them in with the chocolate chips.
Conclusion
Halloween Brownies Graveyard are a fantastic way to bring some spooky fun into your kitchen. They combine the classic taste of fudgy brownies with a creative, festive design that everyone will love. Whether you are hosting a big party or just want a special treat for your family, these brownies are a guaranteed hit. The simple ingredients and easy decorating steps make this a stress-free recipe for busy holidays. Give this recipe a try this October and watch how quickly these “scary” treats disappear. Don’t forget to share your spooky creations with your friends and let us know how your graveyard turned out!

Halloween Brownies Graveyard
- Total Time: 45 minutes
- Diet: Vegetarian
Ingredients
- 1 cup unsalted butter, melted
- 2 cups granulated sugar
- 4 large eggs
- 1 teaspoon non-alcoholic vanilla extract
- 3/4 cup unsweetened cocoa powder
- 1 cup all-purpose flour
- 1/2 teaspoon salt
- 1/2 teaspoon baking powder
- 1 cup semi-sweet chocolate chips
- 12 chocolate sandwich cookies (crushed for dirt)
- 10–12 rectangular shortbread cookies (for tombstones)
- 1 tube of black decorating icing
- 1/2 cup chocolate frosting
- Optional: Candy pumpkins or gummy worms
Instructions
- Preheat your oven to 350°F (175°C). Grease a 9×13 inch baking pan with butter or line it with parchment paper.
- In a large bowl, mix the melted butter and sugar together until smooth.
- Add the eggs one at a time, beating well after each addition. Stir in the non-alcoholic vanilla extract.
- Sift the cocoa powder, flour, salt, and baking powder into the wet ingredients. Stir gently until just combined. Do not overmix.
- Fold in the chocolate chips.
- Pour the batter into the prepared pan and spread it evenly.
- Bake for 25 to 30 minutes. A toothpick inserted into the center should come out with a few moist crumbs.
- Let the brownies cool completely in the pan. This is very important so the decorations don’t melt.
- While the brownies cool, write “RIP” on the shortbread cookies using the black icing. Let them dry for a few minutes.
- Place the chocolate sandwich cookies in a plastic bag and crush them with a rolling pin until they look like soil.
- Spread a thin layer of chocolate frosting over the cooled brownies.
- Sprinkle the crushed cookie “dirt” over the top of the frosting.
- Cut the brownies into rectangles. Cut a small slit in each brownie and insert a tombstone cookie so it stands upright.
- Add candy pumpkins or gummy worms around the tombstones for extra detail.
- Cook Time: 45 minutes