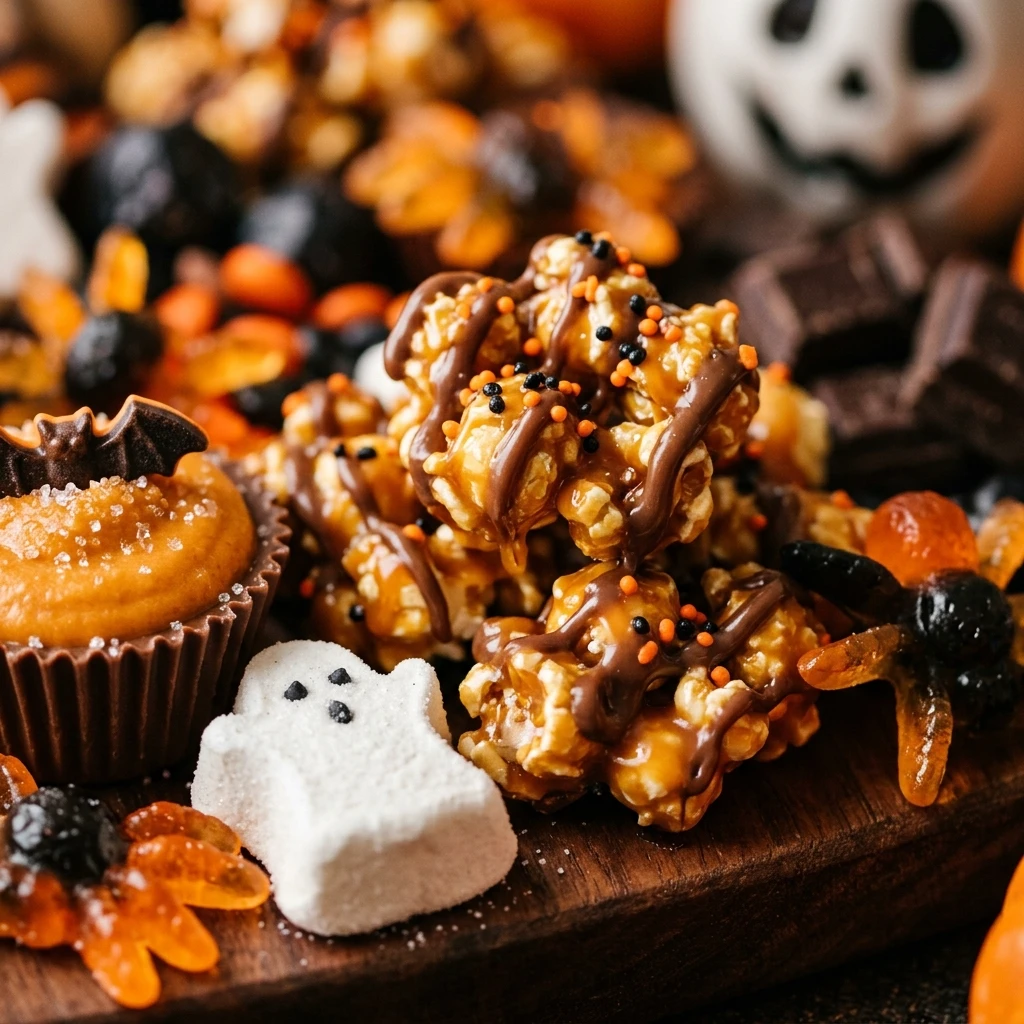
Halloween is the best time for creative kitchen projects, but you do not need an oven to make something spectacular. These easy no-bake Halloween desserts are perfect for busy families who want to celebrate with style. You will love how quickly these treats come together using simple ingredients. They look like professional bakery items but require zero baking skills. With just a few steps, you can create spooky mummies and chocolatey graveyards that taste as good as they look. These snacks are crunchy, creamy, and full of festive spirit. Let’s dive into these delightful treats that will make your holiday extra special.
Why Make This Halloween Desserts Easy No Bake
These treats are a total lifesaver during the busy October season. You do not have to worry about preheating the oven or monitoring baking times. The recipes use common pantry staples that are very easy to find at any grocery store. Since there is no heat involved, children can safely join in the decorating process. It is a wonderful way to bond with family while making memories. Plus, these desserts are perfectly portioned for grab-and-go snacking at a Halloween party. They stay fresh for several days, allowing you to prepare them in advance and focus on your costume.
How to Make Halloween Desserts Easy No Bake
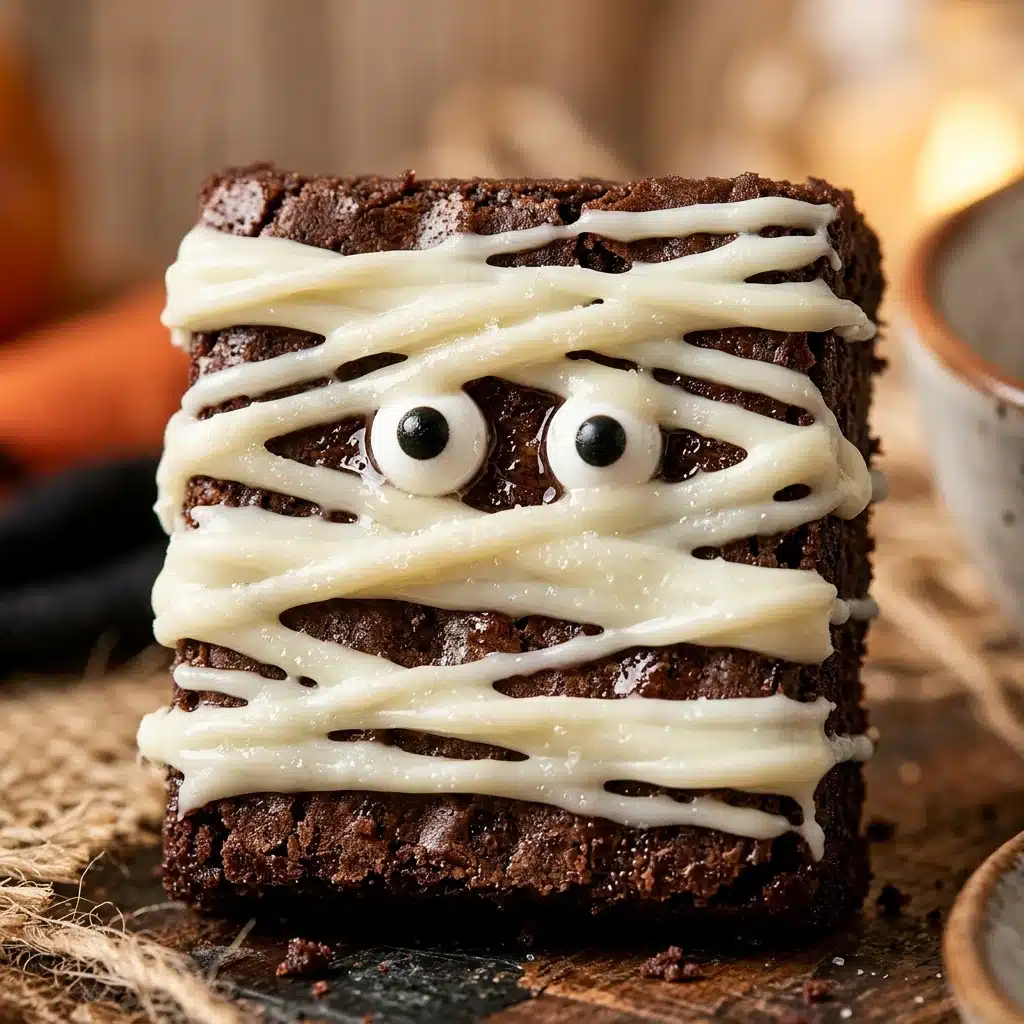
Making these desserts is all about assembly and imagination. You start by gathering your base ingredients like chocolate cookies and smooth pudding. For the mummy pops, you simply melt white chocolate and use it as both a coating and a decoration. For the graveyard cups, the fun is in the layering. You crush cookies to look like dark soil and add fun toppings to tell a story. The process is repetitive and relaxing, letting you focus more on the creative decoration than technical cooking. It is satisfying to watch a simple cookie transform into a spooky character with just a few drizzles of chocolate.
Ingredients:
- 1 pack of chocolate sandwich cookies (with cream filling)
- 12 ounces of white chocolate chips
- 2 cups of chocolate pudding (prepared or store-bought)
- 1 pack of lollipop sticks
- Candy eyes (halal-certified)
- Gummy worms (made with beef gelatin)
- 1/2 cup of chocolate cookie crumbs (extra for “dirt”)
- 1 teaspoon of vegetable oil or coconut oil
- Rectangular biscuits (for “tombstones”)
Directions:
1. Start by making the Mummy Pops. Carefully insert a lollipop stick into the cream center of each chocolate sandwich cookie. If the cookie splits, use a tiny drop of melted chocolate to glue it back together.
2. Place the white chocolate chips in a microwave-safe bowl. Heat them in 30-second bursts, stirring in between, until the chocolate is completely smooth. Stir in the oil to make the chocolate shiny and fluid.
3. Dip each cookie into the melted white chocolate until it is fully coated. Tap the stick gently on the side of the bowl to remove any excess. Place the coated cookies on a piece of wax paper to set.
4. Once the base coat is firm, dip a fork into the remaining white chocolate and drizzle it back and forth over the cookies. This creates the messy look of mummy bandages.
5. While the drizzle is still wet, press two candy eyes onto each cookie. Let them sit until they are completely hard.
6. For the Graveyard Pudding Cups, fill clear plastic cups about three-quarters full with chocolate pudding.
7. Sprinkle a thick layer of crushed chocolate cookie crumbs on top of the pudding to represent fresh soil.
8. Take a rectangular biscuit and write “RIP” on it using a bit of leftover chocolate or a food marker. Stick it into the pudding to look like a tombstone.
9. Add a gummy worm (halal) crawling out of the “dirt” for a spooky finishing touch.
10. Place all treats in the refrigerator for at least 20 minutes to ensure everything is set before serving.
Nutritional Information
The following values are estimates per serving (one mummy pop or one small pudding cup):
- Calories: 195 kcal
- Total Fat: 10g
- Saturated Fat: 6g
- Cholesterol: 5mg
- Sodium: 115mg
- Total Carbohydrates: 25g
- Dietary Fiber: 1g
- Total Sugars: 19g
- Protein: 2g
- Calcium: 45mg
How to Serve Halloween Desserts Easy No Bake
Presentation is everything when it comes to Halloween. Arrange the mummy pops on a large black or purple platter to make the white chocolate stand out. You can also stand the sticks up in a foam block covered in orange tissue paper for a professional display. Serve the graveyard cups on a tray decorated with fake spider webs or plastic spiders. These treats are best served chilled, so keep them in the fridge until your guests arrive. Providing small wooden spoons for the pudding cups adds a rustic, earthy feel to the theme.
How to Store Halloween Desserts Easy No Bake
Place any leftovers in an airtight container to keep them fresh. You can store the mummy pops and pudding cups in the refrigerator for up to 5 days. If you leave the cookies on the counter for too long, the chocolate might soften and become sticky, especially in a warm room. For the best texture, do not freeze the pudding cups as the pudding can become watery upon thawing. However, you can freeze the chocolate-covered mummy pops for up to a month if they are wrapped tightly in plastic wrap.
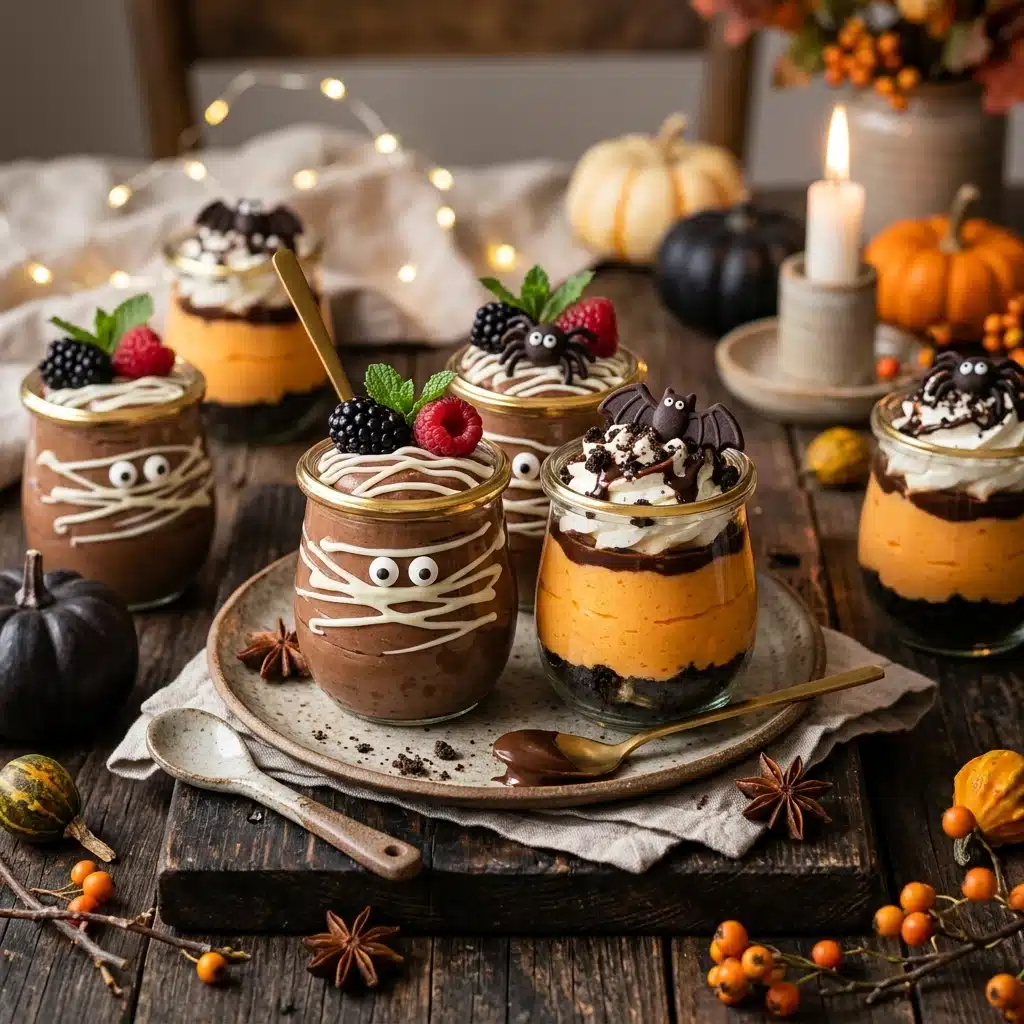
Expert Tips for Perfect Halloween Desserts Easy No Bake
Always use a deep, narrow bowl for melting chocolate to make dipping much easier. If your chocolate is too thick to drizzle, add a half-teaspoon of oil to thin it out. For the graveyard cups, use a food processor to get perfectly fine cookie crumbs that look exactly like real dirt. When inserting sticks into the cookies, dip the tip of the stick into the melted chocolate first; this acts as a glue and prevents the cookie from falling off. Always check the labels on your candies to ensure they use beef gelatin or are vegetarian-friendly to keep the recipe halal.
Delicious Variations
You can easily customize these recipes to suit your taste. Instead of chocolate pudding, use vanilla pudding tinted with green food coloring to make “monster slime” cups. You can also use peanut butter sandwich cookies for a different flavor profile in your mummy pops. For a fruit-based option, dip strawberries in white chocolate and add ghost faces with dark chocolate. Another fun idea is to use pretzel sticks as “spider legs” on round chocolate cookies, attaching them with a bit of melted chocolate. The possibilities for spooky creativity are endless!
Frequently Asked Questions
1. Can I use dark chocolate for the mummies? Yes, you can use dark chocolate as the base, but the white “bandages” will show up much better against the darker background.
2. Are these treats safe for a school party? They are safe as long as no one has a gluten or dairy allergy. Check if the school has a nut-free policy before using specific cookie brands.
3. How do I prevent the white chocolate from burning? Always melt it in short intervals and stir frequently. White chocolate is more sensitive to heat than dark chocolate.
4. What can I use if I cannot find candy eyes? You can use a tiny dot of dark chocolate or a small piece of a dark-colored fruit or candy to represent eyes.
5. Can I make these a day in advance? Yes, these are actually better when made a day ahead because it gives the chocolate plenty of time to set firmly.
6. How do I make the tombstones stay upright? Push them deep into the pudding and use the cookie crumbs to help support the base of the biscuit.
7. Is there a way to make these vegan? Yes, you can use dairy-free chocolate chips and almond or coconut-based pudding cups.
8. Why is my chocolate clumping? Chocolate clumps if even a tiny drop of water gets into the bowl. Make sure all your utensils are completely dry.
9. Can I use homemade pudding? Absolutely. Just ensure the pudding is completely chilled before you start assembling the graveyard cups.
10. What is the best way to crush the cookies? Put them in a sealed plastic bag and hit them gently with a rolling pin or use a blender for a finer texture.
Conclusion
These Halloween desserts are the perfect combination of spooky fun and delicious flavor. They prove that you do not need an oven to create a memorable holiday spread. Whether you are hosting a large party or just looking for a fun weekend activity with your family, these no-bake treats are sure to be a hit. They are visually impressive, budget-friendly, and incredibly easy to assemble. Give these recipes a try this October and watch how quickly they disappear! We would love to hear how your spooky creations turned out—feel free to share your experience and happy haunting!
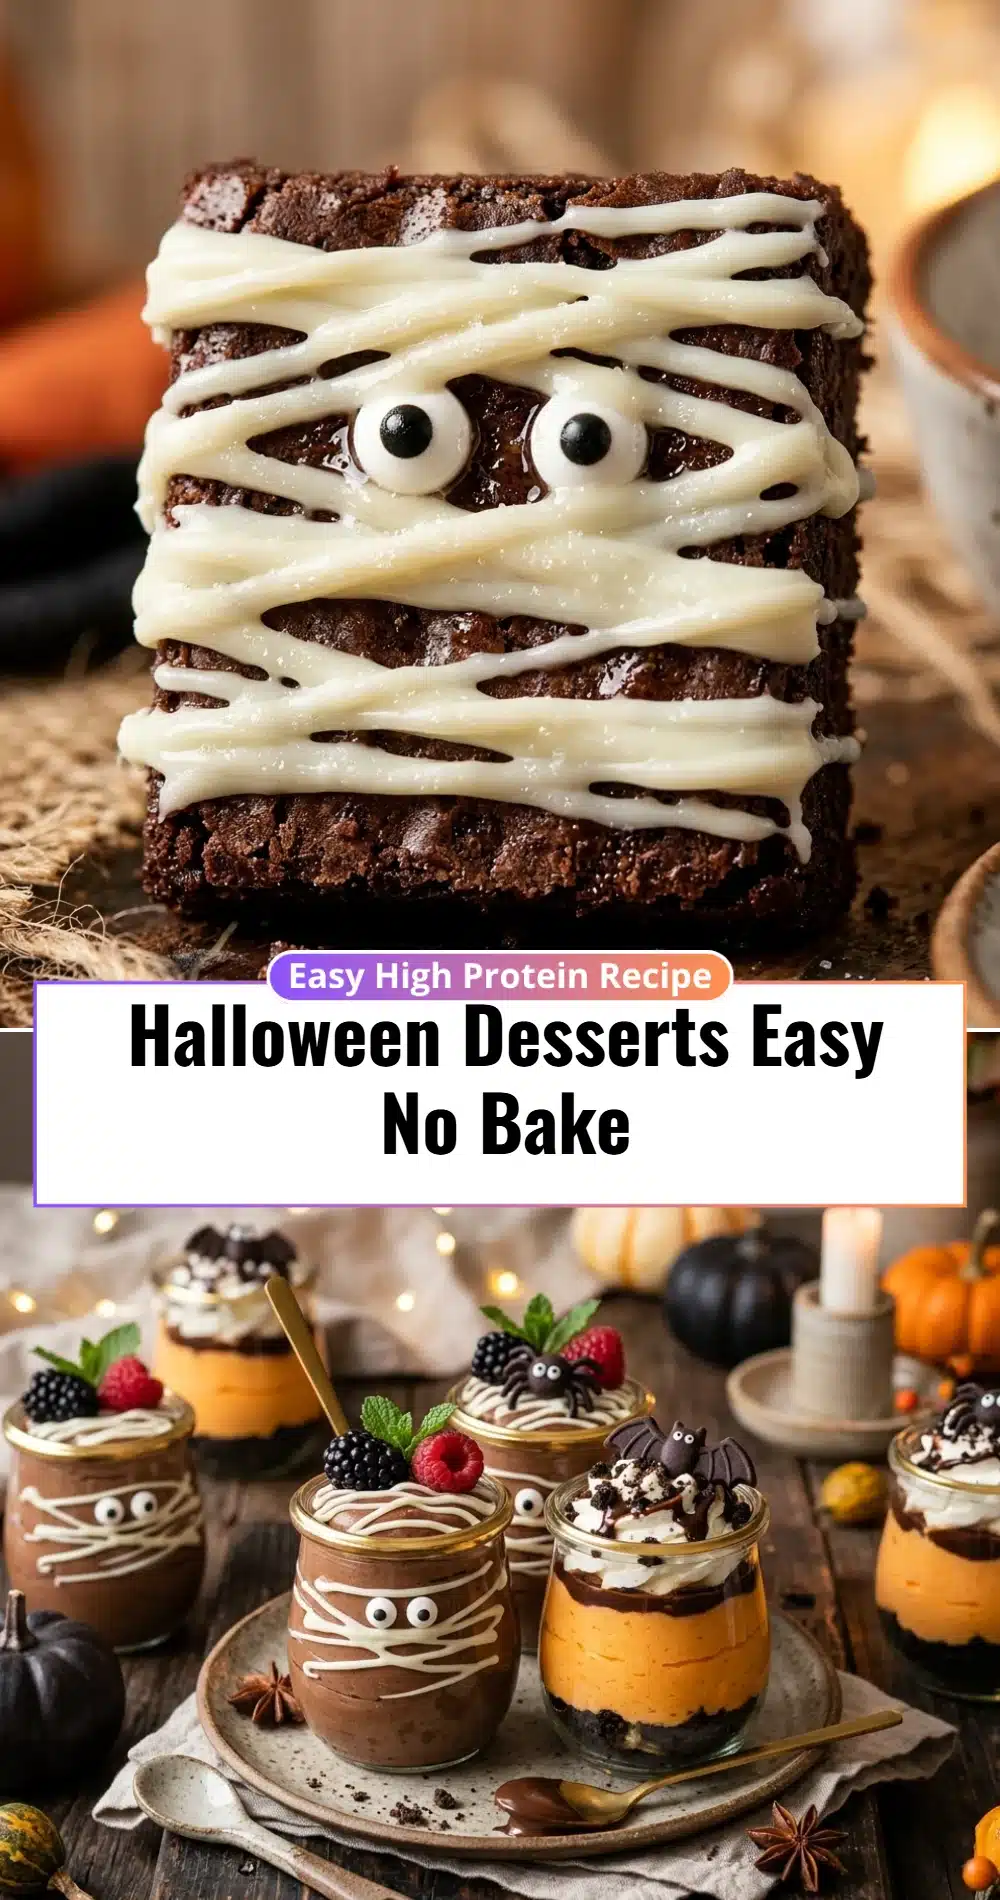
Halloween Desserts Easy No Bake
- Total Time: 38 minute
- Diet: Halal, Vegetarian
Ingredients
- 1 pack of chocolate sandwich cookies (with cream filling)
- 12 ounces of white chocolate chips
- 2 cups of chocolate pudding (prepared or store-bought)
- 1 pack of lollipop sticks
- Candy eyes (halal-certified)
- Gummy worms (made with beef gelatin)
- 1/2 cup of chocolate cookie crumbs (extra for “dirt”)
- 1 teaspoon of vegetable oil or coconut oil
- Rectangular biscuits (for “tombstones”)
Instructions
- Start by making the Mummy Pops. Carefully insert a lollipop stick into the cream center of each chocolate sandwich cookie. If the cookie splits, use a tiny drop of melted chocolate to glue it back together.
- Place the white chocolate chips in a microwave-safe bowl. Heat them in 30-second bursts, stirring in between, until the chocolate is completely smooth. Stir in the oil to make the chocolate shiny and fluid.
- Dip each cookie into the melted white chocolate until it is fully coated. Tap the stick gently on the side of the bowl to remove any excess. Place the coated cookies on a piece of wax paper to set.
- Once the base coat is firm, dip a fork into the remaining white chocolate and drizzle it back and forth over the cookies. This creates the messy look of mummy bandages.
- While the drizzle is still wet, press two candy eyes onto each cookie. Let them sit until they are completely hard.
- For the Graveyard Pudding Cups, fill clear plastic cups about three-quarters full with chocolate pudding.
- Sprinkle a thick layer of crushed chocolate cookie crumbs on top of the pudding to represent fresh soil.
- Take a rectangular biscuit and write “RIP” on it using a bit of leftover chocolate or a food marker. Stick it into the pudding to look like a tombstone.
- Add a gummy worm (halal) crawling out of the “dirt” for a spooky finishing touch.
- Place all treats in the refrigerator for at least 20 minutes to ensure everything is set before serving.
- Cook Time: Not specified