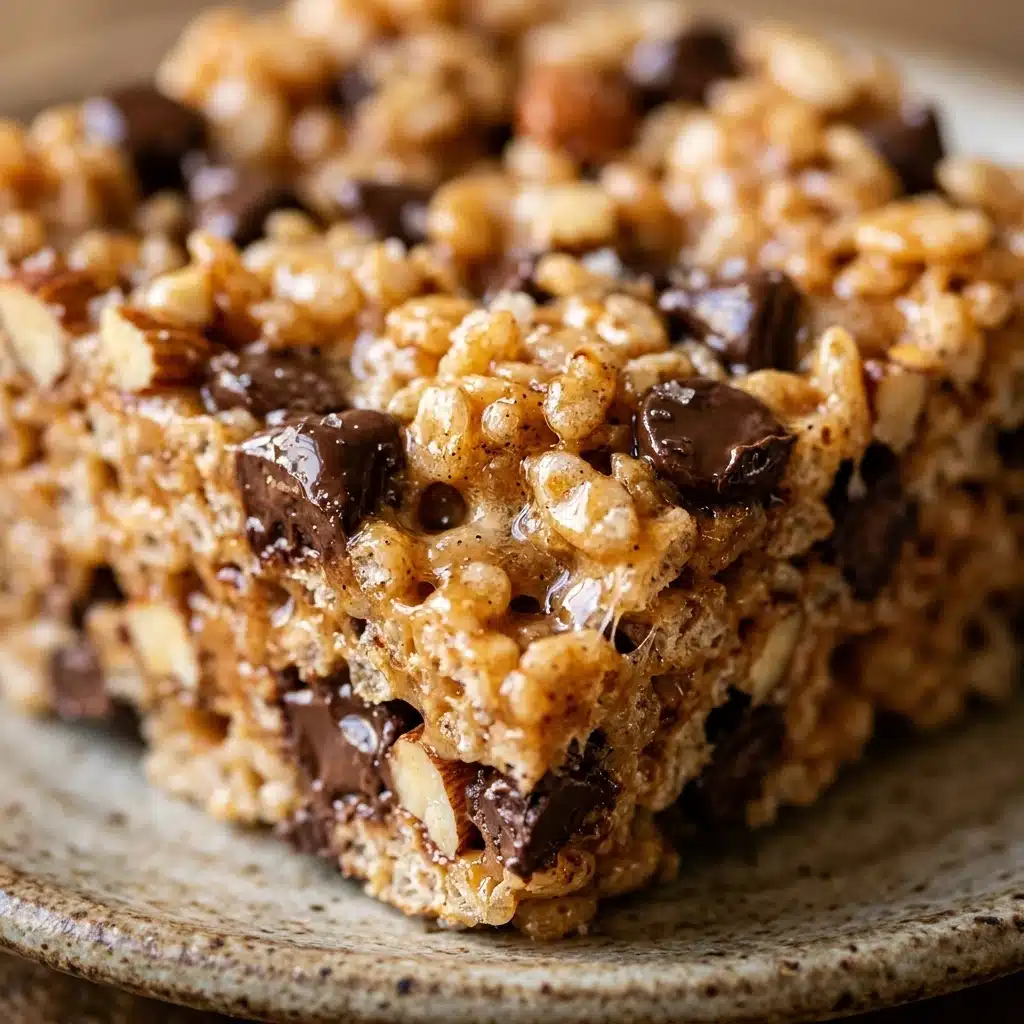
Imagine biting into the gooey, marshmallow-filled crunch of a childhood classic, but this time, it actually supports your fitness goals. These Protein Rice Krispie Treats are the ultimate hack for anyone with a sweet tooth who needs to hit their daily protein macros. They are chewy, sweet, and perfectly crispy without the massive sugar crash. Whether you need a quick post-workout snack or a lunchbox surprise that provides sustained energy, these bars deliver. Forget those chalky store-bought protein bars; these homemade treats are better for your wallet and your taste buds.
Recipe Information
- Prep Time: 10 minutes
- Cook Time: 5 minutes
- Total Time: 15 minutes
- Servings: 12 bars
- Difficulty: Easy
Nutrition values
- Calories: 165 kcal
- Protein: 10g
- Carbs: 24g
Why Make This Protein Rice Krispie Treats
Most traditional Rice Krispie treats are pure sugar and simple carbs, leading to a quick energy spike and an even faster crash. By adding a high-quality protein powder, you transform a dessert into a functional snack. The protein helps slow down the digestion of the sugars, keeping you full for longer. Plus, these bars require zero baking, making them the perfect “emergency” snack for busy weeks. They are customizable, kid-approved, and take less than 15 minutes to assemble from start to finish.
Ingredients
- 5 cups Crisped rice cereal (standard or brown rice version)
- 2 scoops (approx. 60g) Vanilla or Whey-Casein blend protein powder
- 10 oz (1 bag) Mini marshmallows
- 4 tbsp Unsalted butter or Coconut oil
- 1/4 cup Creamy almond butter or Peanut butter (optional for extra glue)
- 1 tsp Vanilla extract
- 1/4 tsp Sea salt
Directions
Step 1: Preparation
Line an 8×8-inch or 9×9-inch baking pan with parchment paper. Leave a little overhang on the sides so you can easily lift the bars out later. Lightly spray the parchment paper with non-stick cooking spray or rub it with a tiny bit of coconut oil to ensure nothing sticks.
Step 2: Melting the Base
Place a large pot over low heat. Add the butter (or coconut oil) and let it melt completely. Once melted, add the marshmallows and salt. Stir continuously with a heat-resistant spatula until the marshmallows are smooth and completely melted. Remove the pot from the heat immediately to prevent the marshmallows from becoming tough.
Step 3: Incorporating Protein and Flavor
Quickly stir in the vanilla extract and the nut butter if you are using it. Once combined, sift in the protein powder. It is vital to stir the protein powder into the wet marshmallow mixture before adding the cereal to ensure you don’t end up with dry protein clumps in your bars.
Step 4: Folding and Setting
Add the crisped rice cereal to the pot. Gently fold the cereal into the marshmallow mixture until every piece is evenly coated. Transfer the mixture to your prepared pan. Use a piece of greased parchment paper or a greased spatula to press the mixture down lightly. Do not pack it too hard, or the bars will be dense and difficult to bite. Let them sit at room temperature for at least 30 minutes before slicing into 12 even bars.
Expert Tips for Perfect Protein Rice Krispie Treats
To get the best results, always use fresh marshmallows; older ones don’t melt as smoothly and can result in a rock-hard treat. If you find the mixture is too sticky to handle, dampen your hands slightly with water before pressing the cereal into the pan. Most importantly, never boil the marshmallow mixture. High heat changes the sugar structure and makes the treats brittle instead of chewy. If you use whey protein, be aware that it can sometimes dry out the mixture; a whey-casein blend or adding a tablespoon of nut butter helps maintain that classic gooey texture.
Delicious Variations
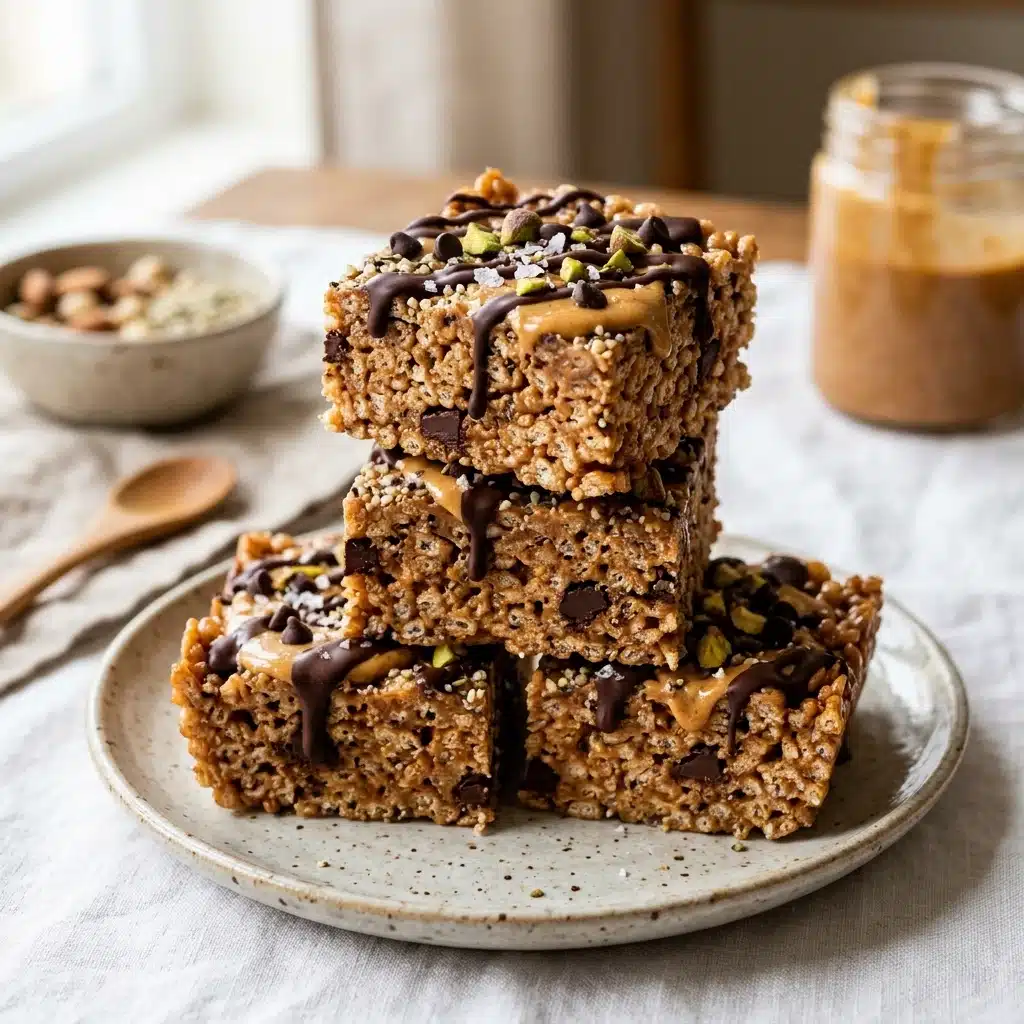
You can easily swap the flavors to keep things interesting. For a Chocolate Lovers version, use chocolate protein powder and mix in a handful of dark chocolate chips at the very end. If you want Birthday Cake treats, use vanilla protein powder and add two tablespoons of rainbow sprinkles. For a Peanut Butter Blast, use peanut butter as your fat source and add chopped honey-roasted peanuts to the mix. You can also drizzle melted dark chocolate or white chocolate over the top of the finished bars for a professional bakery look.
Frequently Asked Questions
Can I use vegan protein powder?
Yes, you can use plant-based protein powder. However, plant proteins tend to absorb more moisture, so you might need to add an extra tablespoon of melted butter or nut butter to keep the bars from becoming too dry.
How do I store these treats?
Store the bars in an airtight container at room temperature for up to 3 days. If you need them to last longer, you can refrigerate them for up to a week, though they will be firmer when cold.
Why did my treats turn out hard?
This usually happens for two reasons: you either overheated the marshmallows or you pressed the mixture into the pan too firmly. Aim for a gentle press just to level the surface.
Can I freeze Protein Rice Krispie Treats?
Yes! Wrap individual bars in plastic wrap and place them in a freezer bag. They will stay fresh for up to two months. Thaw them at room temperature for about 15 minutes before eating.
Which protein powder flavor works best?
Vanilla is the most versatile as it complements the marshmallow flavor. However, salted caramel or cookies and cream protein powders also work exceptionally well in this recipe.
Conclusion
Making your own Protein Rice Krispie Treats is a game-changer for your meal prep routine. They satisfy that nostalgic craving while providing a much-needed protein boost to keep your energy levels stable. With just a few simple ingredients and 15 minutes of your time, you can have a batch of delicious, chewy snacks ready for the week. Give this recipe a try and enjoy a childhood favorite with a healthy, modern twist!

Protein Rice Krispie Treats
- Total Time: 15 minutes
- Diet: Vegetarian
Ingredients
- 5 cups Crisped rice cereal (standard or brown rice version)
- 2 scoops (approx. 60g) Vanilla or Whey-Casein blend protein powder
- 10 oz (1 bag) Mini marshmallows
- 4 tbsp Unsalted butter or Coconut oil
- 1/4 cup Creamy almond butter or Peanut butter (optional for extra glue)
- 1 tsp Vanilla extract
- 1/4 tsp Sea salt
Instructions
- Step 1: Preparation
Line an 8×8-inch or 9×9-inch baking pan with parchment paper. Leave a little overhang on the sides so you can easily lift the bars out later. Lightly spray the parchment paper with non-stick cooking spray or rub it with a tiny bit of coconut oil to ensure nothing sticks. - Step 2: Melting the Base
Place a large pot over low heat. Add the butter (or coconut oil) and let it melt completely. Once melted, add the marshmallows and salt. Stir continuously with a heat-resistant spatula until the marshmallows are smooth and completely melted. Remove the pot from the heat immediately to prevent the marshmallows from becoming tough. - Step 3: Incorporating Protein and Flavor
Quickly stir in the vanilla extract and the nut butter if you are using it. Once combined, sift in the protein powder. It is vital to stir the protein powder into the wet marshmallow mixture before adding the cereal to ensure you don’t end up with dry protein clumps in your bars. - Step 4: Folding and Setting
Add the crisped rice cereal to the pot. Gently fold the cereal into the marshmallow mixture until every piece is evenly coated. Transfer the mixture to your prepared pan. Use a piece of greased parchment paper or a greased spatula to press the mixture down lightly. Do not pack it too hard, or the bars will be dense and difficult to bite. Let them sit at room temperature for at least 30 minutes before slicing into 12 even bars.
- Cook Time: 15 minutes