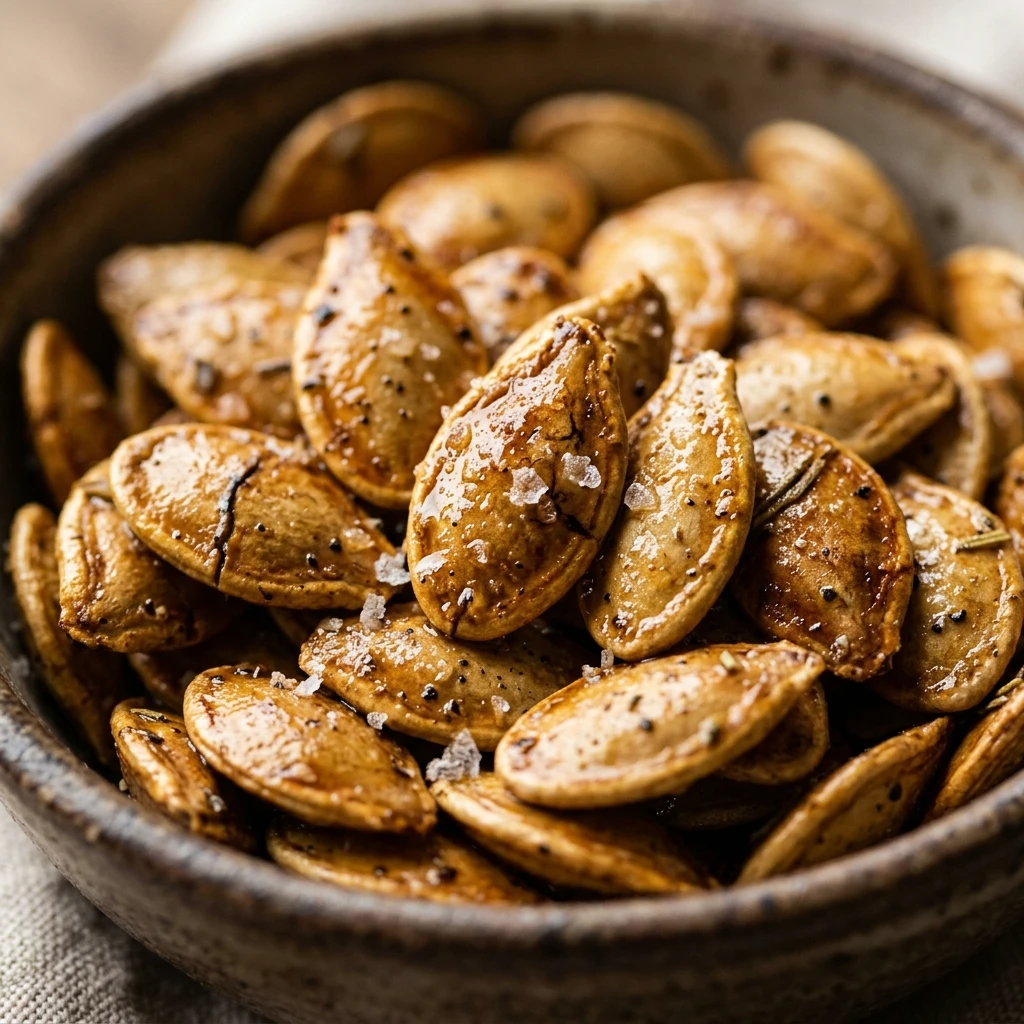
Carving a pumpkin is a fun tradition, but the best part is often hidden inside. Instead of throwing away the gooey centers, you can turn those seeds into a crunchy, salty snack that everyone will love. Roasted pumpkin seeds with sea salt are light, nutty, and incredibly satisfying. They fill your kitchen with a wonderful toasted aroma as they bake. Whether you are looking for a healthy snack for movie night or a crunchy topping for your autumn soups, these seeds are the perfect choice. They are easy to make and much better than any store-bought version.
Why Make This Roasted Pumpkin Seeds with Sea Salt
Making your own roasted pumpkin seeds is a smart and tasty move. First, it reduces food waste by using every part of the pumpkin. Instead of filling the trash, you are filling your snack bowl with something nutritious. These seeds are packed with minerals like magnesium and zinc, making them a powerhouse of health. They provide a satisfying crunch that beats greasy potato chips every time. Plus, you have total control over the ingredients. You can ensure they are fresh, use high-quality sea salt, and avoid any artificial preservatives or excess oils. It is a simple, rewarding process that makes the most of the fall season.
How to Make Roasted Pumpkin Seeds with Sea Salt
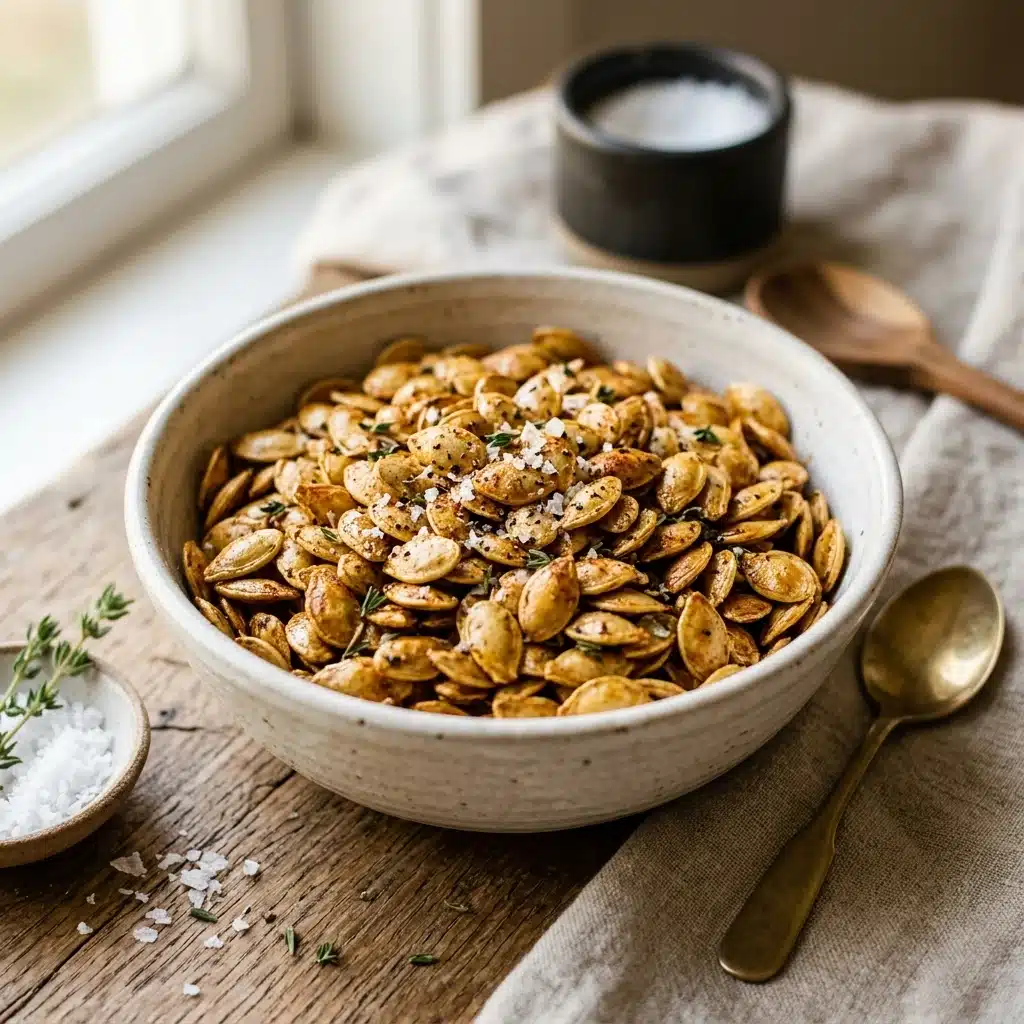
The process is quite simple and very therapeutic. First, you scoop the seeds out of the pumpkin and separate them from the stringy pulp. Rinsing them in a colander under cold water helps get them clean. The most important step is drying; the drier the seeds, the crispier they become in the oven. Once dry, you toss them in a small amount of oil and sprinkle them with sea salt. You spread them out on a baking sheet so they are not crowded and roast them at a low temperature. This slow roasting ensures they get crunchy all the way through without burning. The result is a golden-brown snack that tastes like roasted nuts with a hint of earthy pumpkin flavor.
Ingredients:
- 2 cups raw pumpkin seeds (fresh from a pumpkin)
- 1 tablespoon extra virgin olive oil or melted butter
- 1 teaspoon fine sea salt (adjust to your taste)
- Optional: A pinch of cracked black pepper
Directions:
- Preheat your oven to 300°F (150°C). A lower temperature helps the seeds dry out and crisp up perfectly without burning.
- Place the pumpkin seeds in a large bowl of water. Use your hands to separate the seeds from any orange pulp. The seeds will usually float to the top, making them easy to grab.
- Drain the seeds in a colander and rinse them thoroughly under cold running water.
- Spread the seeds onto a clean kitchen towel or paper towels. Pat them very dry. Let them sit for about 10 to 15 minutes if you have time. The drier they are, the crunchier they will be.
- In a medium bowl, combine the dry pumpkin seeds, olive oil, and sea salt. Stir well until every seed is lightly coated.
- Spread the seeds in a single layer on a large rimmed baking sheet. Do not crowd them, as they need air to circulate.
- Bake for 30 to 45 minutes. Every 10 or 15 minutes, open the oven and stir the seeds with a spatula. This ensures they brown evenly on all sides.
- Remove the seeds from the oven when they are golden brown and smell toasted.
- Let the seeds cool completely on the baking sheet. They will continue to crisp up as they cool down.
Nutritional Information
Roasted pumpkin seeds are a nutrient-dense snack. For a standard 1/4 cup serving (approximately 28 grams), you can expect the following nutritional profile:
- Calories: 125 kcal
- Total Fat: 10g
- Saturated Fat: 2g
- Carbohydrates: 4g
- Fiber: 2g
- Sugar: 0g
- Protein: 5g
- Sodium: 250mg (depending on salt usage)
- Magnesium: 35% of the Daily Value
- Zinc: 15% of the Daily Value
How to Serve Roasted Pumpkin Seeds with Sea Salt
These seeds are incredibly versatile. The most popular way to enjoy them is by the handful as a healthy midday snack. However, you can also use them to add texture to your favorite dishes. Sprinkle them over a bowl of creamy butternut squash soup or a fresh kale salad for a lovely crunch. They make a great topping for morning oatmeal or Greek yogurt if you want a savory twist. You can even set them out in small bowls during a party or a fall-themed gathering. They pair beautifully with a warm cup of cider or herbal tea.
How to Store Roasted Pumpkin Seeds with Sea Salt
To keep your roasted seeds fresh and crunchy, you must store them correctly. Once they have cooled completely, place them in an airtight container like a glass jar or a zip-top bag. They will stay fresh at room temperature for about one week. If you want them to last longer, you can store them in the refrigerator for up to one month. For long-term storage, you can freeze them for several months. If they lose their crunch over time, simply pop them back into a 300°F oven for 5 minutes to crisp them up again.
Expert Tips for Perfect Roasted Pumpkin Seeds with Sea Salt
To get the best results, always aim for very dry seeds before roasting. Water creates steam, and steam makes the seeds chewy instead of crunchy. Another great tip is to use a low oven temperature. High heat can burn the delicate outer shells before the inside is toasted. If you want extra flavor, try boiling the seeds in salted water for 10 minutes before roasting; this helps the salt penetrate the inside of the shell. Finally, don’t be afraid to stir them often. Stirring helps release moisture and ensures every seed gets equal time against the hot pan.
Delicious Variations
While sea salt is a classic, you can easily change the flavor profile of this recipe. For a spicy kick, add a half teaspoon of chili powder or smoked paprika. If you enjoy savory herbs, toss the seeds with dried rosemary or thyme. For a “cheesy” flavor that is still dairy-free, use nutritional yeast. You can even make a sweet version by using melted coconut oil instead of olive oil and tossing the seeds in a mix of cinnamon and sugar after they come out of the oven. For a zesty twist, add a little lime zest and a pinch of cumin.
Frequently Asked Questions
1. Do I need to peel the seeds?
No, the white outer shell is completely edible and provides a lot of fiber and crunch.
2. Can I use seeds from any type of pumpkin?
Yes! You can roast seeds from carving pumpkins, sugar pumpkins, or even other winter squashes like acorn or butternut squash.
3. Why are my pumpkin seeds chewy?
This usually happens if the seeds were not dry enough before roasting or if they were not roasted long enough. Make sure to pat them dry very well.
4. Is it better to use butter or oil?
Olive oil gives a crispier texture and a neutral taste, while butter adds a rich, savory flavor. Both work well, so choose based on your preference.
5. Should I rinse the seeds?
Yes, rinsing is important to remove the sticky pulp, which can burn in the oven and cause a bitter taste.
6. How do I know when they are done?
They should be a light golden brown and feel firm to the touch. They will also smell very nutty and toasted.
7. Can I make these in an air fryer?
Yes! Air fry them at 300°F (150°C) for about 15-20 minutes, shaking the basket every 5 minutes until they are golden.
8. Are roasted pumpkin seeds healthy?
Yes, they are very healthy. They contain healthy fats, fiber, and essential minerals like magnesium.
9. Can I store them in the freezer?
Yes, roasted pumpkin seeds freeze very well in an airtight bag and stay fresh for up to 3 months.
10. Can I add other spices?
Absolutely! You can add garlic powder, onion powder, or even a dash of hot sauce before roasting for extra flavor.
Conclusion
Roasted pumpkin seeds with sea salt are a delightful, crunchy snack that captures the essence of autumn in every bite. They are simple to prepare, incredibly nutritious, and far more satisfying than store-bought snacks. By following these easy steps, you can turn a kitchen byproduct into a gourmet treat that your whole family will enjoy. Don’t let those seeds go to waste this year! Give this recipe a try, and feel free to experiment with your favorite seasonings. We would love to hear how yours turned out, so please share your results and leave a comment below!
Roasted Pumpkin Seeds with Sea Salt
- Total Time: 21 minute
- Diet: Vegetarian, Vegan, Gluten-Free, Dairy-Free
Ingredients
- 2 cups raw pumpkin seeds (fresh from a pumpkin)
- 1 tablespoon extra virgin olive oil or melted butter
- 1 teaspoon fine sea salt (adjust to your taste)
- Optional: A pinch of cracked black pepper
Instructions
- Preheat your oven to 300°F (150°C). A lower temperature helps the seeds dry out and crisp up perfectly without burning.
- Place the pumpkin seeds in a large bowl of water. Use your hands to separate the seeds from any orange pulp. The seeds will usually float to the top, making them easy to grab.
- Drain the seeds in a colander and rinse them thoroughly under cold running water.
- Spread the seeds onto a clean kitchen towel or paper towels. Pat them very dry. Let them sit for about 10 to 15 minutes if you have time. The drier they are, the crunchier they will be.
- In a medium bowl, combine the dry pumpkin seeds, olive oil, and sea salt. Stir well until every seed is lightly coated.
- Spread the seeds in a single layer on a large rimmed baking sheet. Do not crowd them, as they need air to circulate.
- Bake for 30 to 45 minutes. Every 10 or 15 minutes, open the oven and stir the seeds with a spatula. This ensures they brown evenly on all sides.
- Remove the seeds from the oven when they are golden brown and smell toasted.
- Let the seeds cool completely on the baking sheet. They will continue to crisp up as they cool down.
- Cook Time: 40-60 minutes