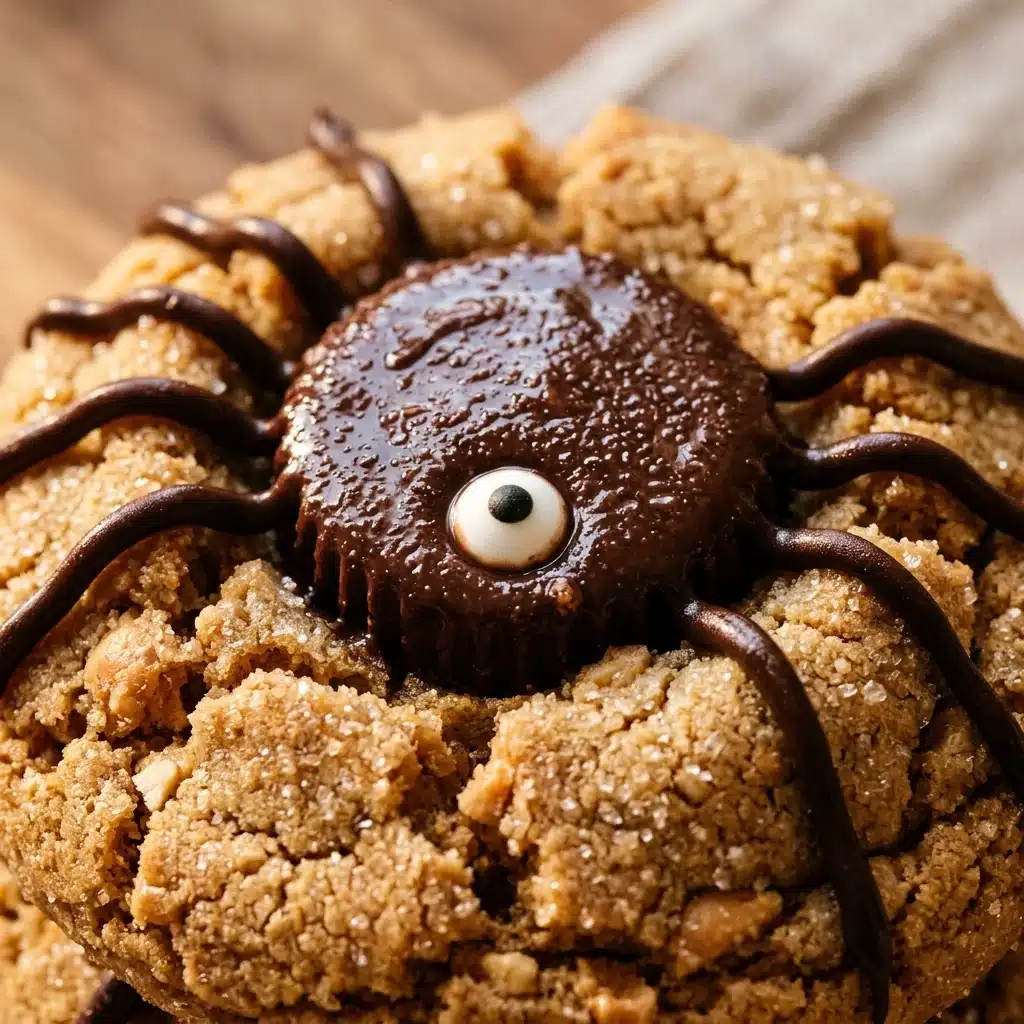
These spider cookies are the ultimate treat for your next spooky gathering. They combine the classic, nutty taste of peanut butter with sweet chocolate to create a snack that looks as good as it tastes. As they bake, your kitchen will fill with the warm aroma of toasted peanuts and sugar. The soft, chewy cookie base provides the perfect home for a round chocolate truffle body. These little spiders are adorable, slightly crunchy, and completely irresistible for both kids and adults.
Why Make This Spider Cookies Peanut Butter
You should make these cookies because they are incredibly fun and festive. They are the perfect project for a rainy afternoon or a Halloween party. Unlike complicated desserts, these cookies use simple ingredients you probably already have in your pantry. The combination of salty peanut butter and rich chocolate is a crowd-pleaser that never goes out of style. Plus, kids love helping to “glue” the eyes onto the spiders, making it a wonderful family activity.
How to Make Spider Cookies Peanut Butter
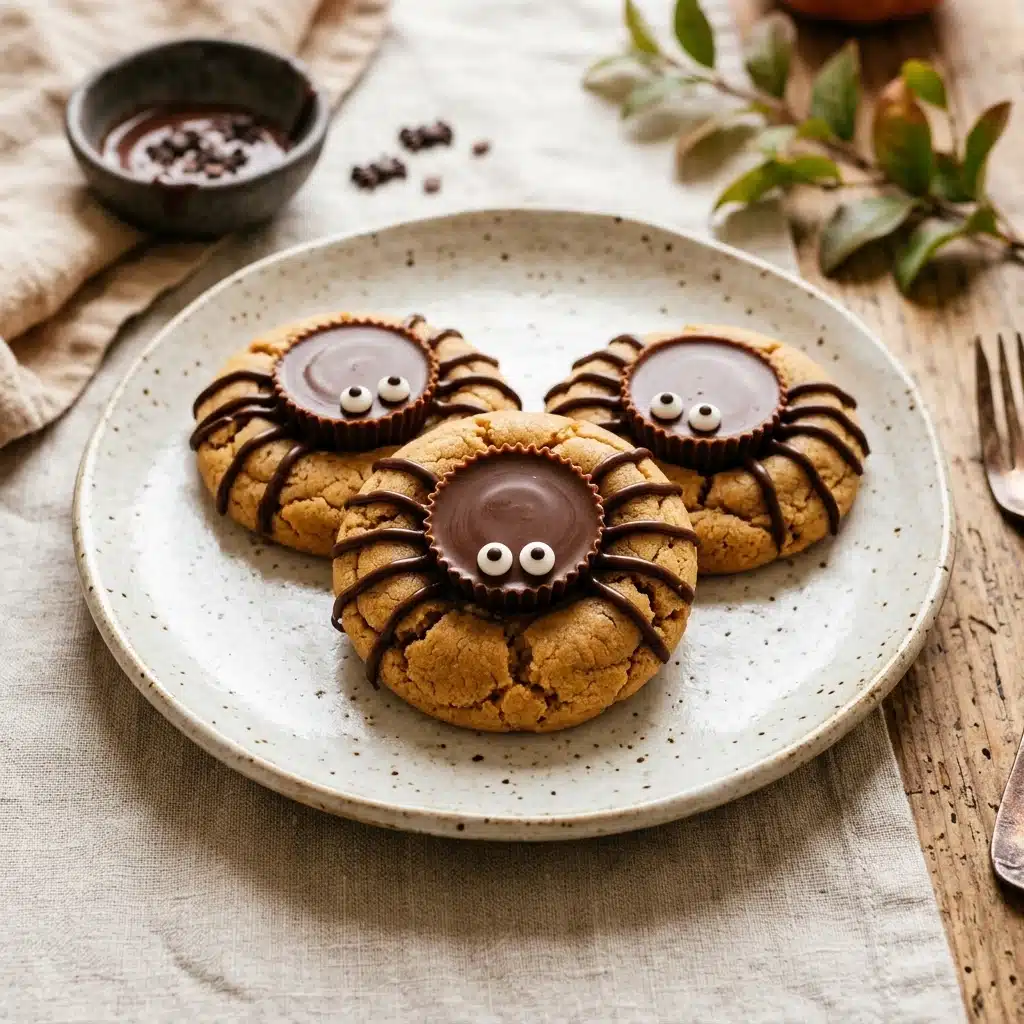
Making these cookies is a simple two-part process. First, you whip up a classic peanut butter cookie dough and bake it until it is golden and soft. While the cookies are still warm, you press a small indentation into the center. Once they cool down, the real fun begins. You place a chocolate ball in the center to act as the spider’s body. Then, you use melted chocolate to draw eight spindly legs and attach tiny candy eyes. It is an easy way to turn a standard cookie into a masterpiece.
Ingredients:
- 1/2 cup unsalted butter, softened
- 1/2 cup creamy peanut butter
- 1/2 cup granulated white sugar
- 1/2 cup packed light brown sugar
- 1 large egg
- 1 teaspoon vanilla extract
- 1 1/2 cups all-purpose flour
- 1 teaspoon baking soda
- 1/2 teaspoon salt
- 24 round chocolate truffles or milk chocolate spheres
- 48 edible candy eyes
- 1/2 cup semi-sweet chocolate chips (melted for the legs)
Directions:
- Preheat your oven to 350°F (175°C) and line two large baking sheets with parchment paper.
- In a large bowl, cream together the softened butter, peanut butter, white sugar, and brown sugar until the mixture is smooth and fluffy.
- Beat in the egg and the vanilla extract until well combined.
- In a separate medium bowl, whisk together the flour, baking soda, and salt.
- Gradually add the dry ingredients to the wet ingredients, mixing until a soft dough forms.
- Roll the dough into 1-inch balls and place them about 2 inches apart on the prepared baking sheets.
- Bake for 10 to 12 minutes or until the edges are just lightly golden.
- Immediately after removing from the oven, use the back of a small spoon or your thumb to press a deep circular dent into the center of each cookie.
- Let the cookies cool on the pan for 5 minutes, then move them to a wire rack to cool completely.
- Once the cookies are cold, place a chocolate truffle in each center indentation.
- Melt the chocolate chips in the microwave in 30-second bursts. Transfer the melted chocolate to a small piping bag or a plastic bag with the corner snipped off.
- Pipe four legs on each side of the chocolate truffle, starting from the body and moving toward the edge of the cookie.
- Use a tiny dot of melted chocolate to attach two candy eyes to the front of each chocolate truffle.
- Let the chocolate legs and “glue” set before serving.
Nutritional Information
This recipe makes approximately 24 cookies. The following values are estimates per single cookie serving:
- Calories: 185 kcal
- Total Fat: 10g
- Saturated Fat: 5g
- Trans Fat: 0g
- Cholesterol: 18mg
- Sodium: 135mg
- Total Carbohydrates: 22g
- Dietary Fiber: 1g
- Sugars: 14g
- Protein: 3g
How to Serve Spider Cookies Peanut Butter
These cookies look best when displayed on a dark platter to make the “spiders” stand out. They are a hit at Halloween parties, school bake sales, or as a surprise after-school snack. Serve them with a cold glass of milk or a hot cup of cocoa. For a party, you can surround the platter with fake spider webs or plastic insects to enhance the spooky theme. They also make great gifts when tucked into clear cellophane bags tied with orange and black ribbons.
How to Store Spider Cookies Peanut Butter
Store these cookies in a single layer inside an airtight container. If you stack them, the chocolate legs and eyes might break off. They will stay fresh at room temperature for up to 5 days. If your kitchen is very warm, the chocolate truffles might soften, so keep them in a cool, dry place. You can freeze the baked cookie bases (without the spider decorations) for up to 3 months. When you are ready to use them, thaw at room temperature and then add the chocolate decorations.
Expert Tips for Perfect Spider Cookies Peanut Butter
To get the best results, make sure your butter is truly at room temperature before you start. This helps the sugar dissolve and creates a better texture. When pressing the dent into the cookies, do it immediately while they are hot; if they cool too much, the cookie will crack. If the chocolate truffles start to melt when you place them on the cookies, it means the cookies are still too warm. Wait until they are completely cold to the touch. For perfectly straight legs, use a steady hand and a very small hole in your piping bag.
Delicious Variations
You can easily change these cookies to suit your taste. Use dark chocolate truffles for a more sophisticated flavor or white chocolate truffles for “ghostly” spiders. If you do not have candy eyes, use small dots of white frosting and a tiny speck of melted chocolate for the pupils. For a gluten-free version, swap the all-purpose flour for a 1-to-1 gluten-free baking blend. You can also roll the dough balls in extra granulated sugar before baking to give the cookies a sparkling, crunchy exterior.
Frequently Asked Questions
1. Can I use crunchy peanut butter?
Yes, you can use crunchy peanut butter if you like a bit of extra texture in the cookie base.
2. Why did my cookies spread too much?
Your butter might have been too warm, or you may have over-mixed the dough. Try chilling the dough balls for 15 minutes before baking.
3. Can I use peanut butter cups instead of truffles?
Absolutely! Flip a small peanut butter cup upside down and press it into the center for a different look.
4. How do I stop the chocolate truffles from melting?
Make sure the cookies are completely cold before you put the truffles on. You can even put the truffles in the fridge for 10 minutes before assembling.
5. What if I don’t have a piping bag?
A simple plastic sandwich bag with a tiny corner cut off works perfectly for piping the chocolate legs.
6. Can I make the dough in advance?
Yes, you can keep the raw dough in the fridge for up to 2 days. Just let it sit at room temperature for a few minutes so it is soft enough to roll.
7. Are these cookies safe for school?
Always check your school’s nut policy, as these contain peanut butter. You can substitute sunflower seed butter if you need a nut-free option.
8. Where can I find candy eyes?
Most craft stores or the baking aisle of large grocery stores carry edible candy eyes, especially during the holiday season.
9. How long does the melted chocolate take to set?
At room temperature, the chocolate legs will set in about 30 to 60 minutes. You can speed this up by putting them in the fridge for 10 minutes.
10. Can I use white chocolate for the legs?
Yes, you can use white chocolate or even colored candy melts if you want colorful spider legs.
Conclusion
Spider Cookies Peanut Butter are the perfect blend of spooky fun and delicious flavor. They are easy to make, require no special skills, and always bring a smile to everyone’s face. Whether you are hosting a big party or just want a special treat for your family, these cookies are sure to be a success. The chewy peanut butter base and the rich chocolate center create a taste that everyone loves. Give this recipe a try this season and share your “creepy” creations with your friends and family!

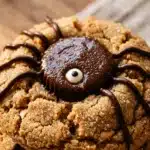
Spider Cookies Peanut Butter
- Total Time: 45 minutes
- Diet: Vegetarian
Ingredients
- 1/2 cup unsalted butter, softened
- 1/2 cup creamy peanut butter
- 1/2 cup granulated white sugar
- 1/2 cup packed light brown sugar
- 1 large egg
- 1 teaspoon vanilla extract
- 1 1/2 cups all-purpose flour
- 1 teaspoon baking soda
- 1/2 teaspoon salt
- 24 round chocolate truffles or milk chocolate spheres
- 48 edible candy eyes
- 1/2 cup semi-sweet chocolate chips (melted for the legs)
Instructions
- Preheat your oven to 350°F (175°C) and line two large baking sheets with parchment paper.
- In a large bowl, cream together the softened butter, peanut butter, white sugar, and brown sugar until the mixture is smooth and fluffy.
- Beat in the egg and the vanilla extract until well combined.
- In a separate medium bowl, whisk together the flour, baking soda, and salt.
- Gradually add the dry ingredients to the wet ingredients, mixing until a soft dough forms.
- Roll the dough into 1-inch balls and place them about 2 inches apart on the prepared baking sheets.
- Bake for 10 to 12 minutes or until the edges are just lightly golden.
- Immediately after removing from the oven, use the back of a small spoon or your thumb to press a deep circular dent into the center of each cookie.
- Let the cookies cool on the pan for 5 minutes, then move them to a wire rack to cool completely.
- Once the cookies are cold, place a chocolate truffle in each center indentation.
- Melt the chocolate chips in the microwave in 30-second bursts. Transfer the melted chocolate to a small piping bag or a plastic bag with the corner snipped off.
- Pipe four legs on each side of the chocolate truffle, starting from the body and moving toward the edge of the cookie.
- Use a tiny dot of melted chocolate to attach two candy eyes to the front of each chocolate truffle.
- Let the chocolate legs and “glue” set before serving.
- Cook Time: 45 minutes